Before you run this sample, make sure that security is enabled for WebSphere® Process Server and that the users and groups are created as required, for example, by using the script ADDUSERS1.BAT as described in the in the Introduction section.
To run this sample, use the Business Process Choreographer Explorer.
Business Process Choreographer Explorer (BPC Explorer)
To start BPC Explorer in the integrated test environment of your WebSphere® Integration Developer, follow these steps:
- In WebSphere Integration Developer, switch to the Servers view.
- In the table, right-click WebSphere Process Server v7.0.
- From the pop-up menu, select Launch > Business Process Choreographer Explorer.

To start BPC Explorer on WebSphere Process Server, follow these steps:
- In a web browser, open URL
http://yourhost:yourport/bpc.
Note: Replace yourhost with your server's internet address and replace yourport with the port of your server's HTTP transport,
for example
If security is enabled, the BPC Explorer opens with a login screen:
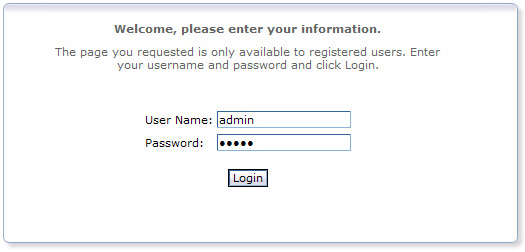
- Enter a valid User ID and Password. The default User ID is admin.
- Click Login.
The BPC Explorer opens:
![]()
Start the business process
To start the assessment process, follow these steps:
- Switch to the BPC Explorer.
- Log in with user ID
sellerB. - In the Process Templates section, click Currently Valid.
- Select RiskAssessmentProcess and click Start Instance.
- Optionally, enter a Process Name.
- In the name field, enter a value of type string.
- In the amount field, enter a numeric value with at least one digit after the decimal point.
- In the creditInfo field, enter a value of type string.
- In the userid field, enter the user ID. In this sample, enter
sellerB(case sensitive). - Click Submit.
The Currently Valid Process Templates view is displayed:

The Process Input Message view opens:

Work with the staff activities
To work with the staff activities of the risk assessment process, follow the steps outlined in the following sections.
Rate credit
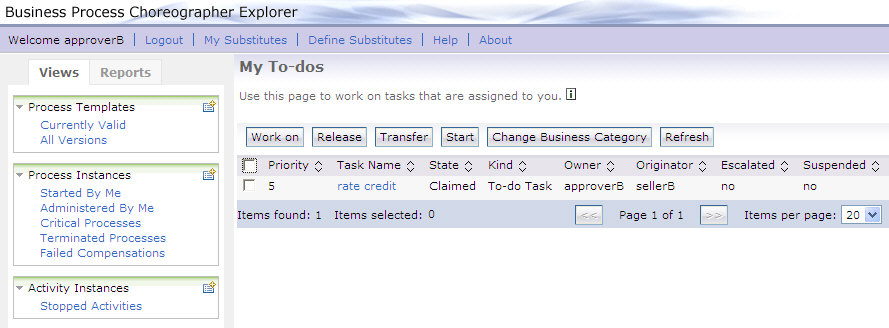
- Switch to the BPC Explorer.
- Log in with user ID
approverB, be sure to enter the user ID in mixed case exactly as shown. - The My To-dos view is displayed:
- Select rate credit, then click Work on.
- In the rating field, enter a value of type string.
- Click Complete.
The Task Message view is displayed:

The My To-dos view is displayed again. Note that even after pressing Refresh the next task activity approve does not show up for approver B but only for approver A and approver C, due to the four eyes principle implemented in this sample.
Approve
- Switch to the BPC Explorer.
- Log in with either user ID
approverAorapproverC. - The My To-dos view is displayed:
- Select approve and click Work on.
- In the decision field, enter a value of type string.
- Click Complete.

The Task Message view is displayed:

See decision
- Switch to the BPC Explorer.
- Log in with user ID
supervisorB. - The My To-dos view is displayed:
- Select see decision and click Work on.
- In the acknowledgement field, enter a value of type string.
- Click Complete.

The Task Message view is displayed:

See result
- Switch to the BPC Explorer.
- Log in with user ID
sellerB. - The My To-dos view is displayed:
- Select see result and click Work on.
- In the acknowledgement field, enter a value of type string. Note that this acknowledgement value will be stored in a different process variable than the acknowledgement value of the previous human task activity.
- Click Complete.

The Task Message view is displayed:
