You can run the sample from the provided artifacts if you did not build the sample from the tutorial. This section will guide you through the steps to use the provided solutions and then to run the sample.
- If you are using the sample from this Web site, you must import
the Clips and Tacks project interchange file. If you are accessing
the sample from within WebSphere Integration Developer, you can skip this
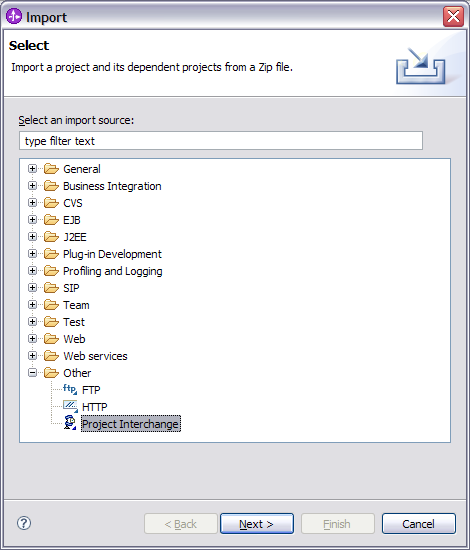
step. To import the Clips and Tacks project interchange file, complete the
following steps:
- Select and then click Next.
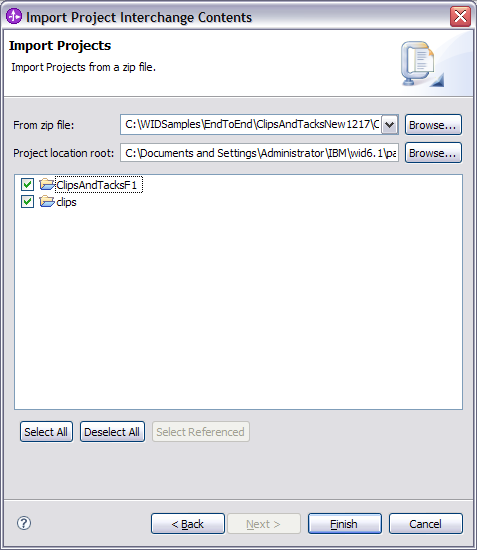
- Click Select All. The generated files
are not included in the downloaded ClipsAndTacksF1Completed.zip file to save
downloading time. Instructions on how to generate them are also in this section.
Click Finish
- Select and then click Next.
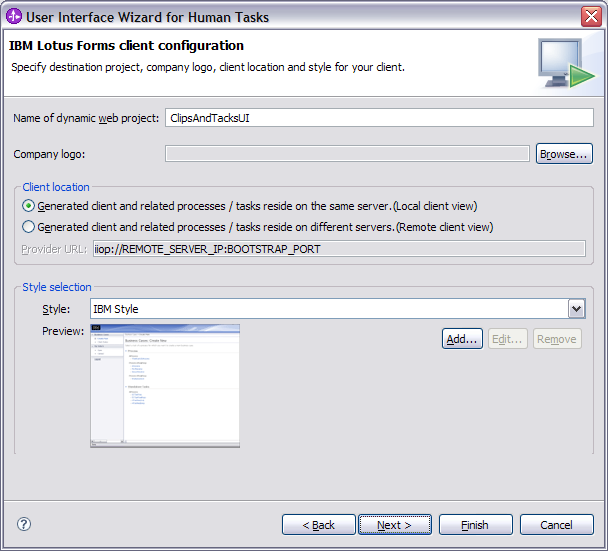
- Generate the process’s User Interface.
- For the name of the dynamic Web project, enter ClipsAndTacksUI.
For the style, select IBM Style. Click Finish.
- For the name of the dynamic Web project, enter ClipsAndTacksUI.
For the style, select IBM Style. Click Finish.
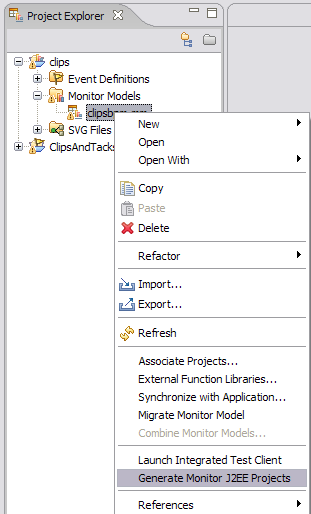
- Generate the monitor model J2EE projects.
- Click Finish.
- Click Finish again.
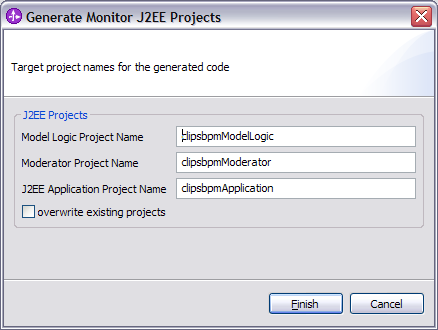
- Click Finish.
- Deploy the executable projects to the server.
- Click Add All.
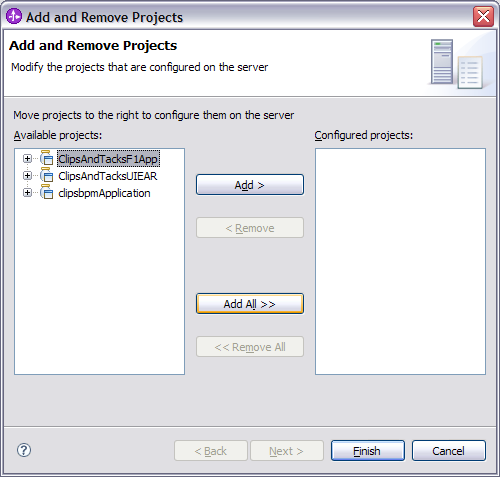
- Click Add All.
- To exercise the model, complete the following steps:
- Enter admin as user ID and admin as
the password and click Login. If you used a different
user ID and password during the installation, then you need to use that user
ID and password.

The client interface appears as shown below.
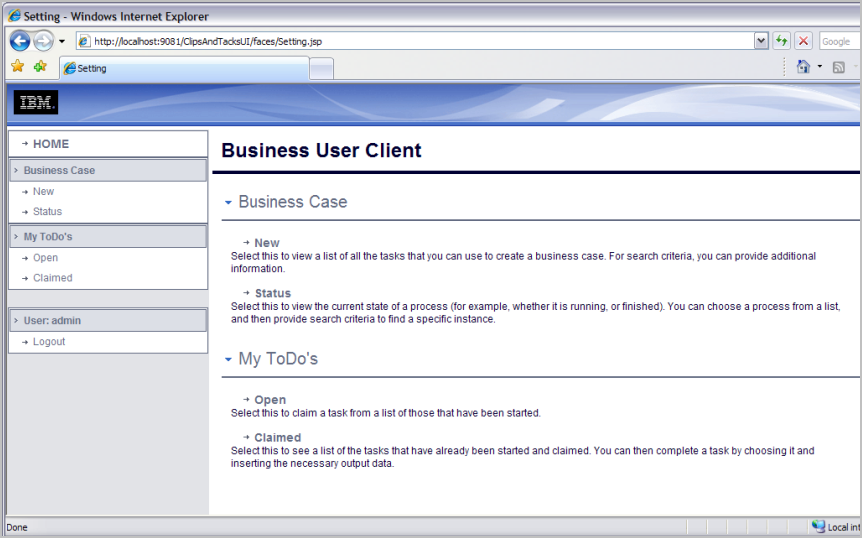
- Under Business Case, click New and
then select OrderHandlingFuture1_InputCriterion. The Lotus® Form
is displayed.
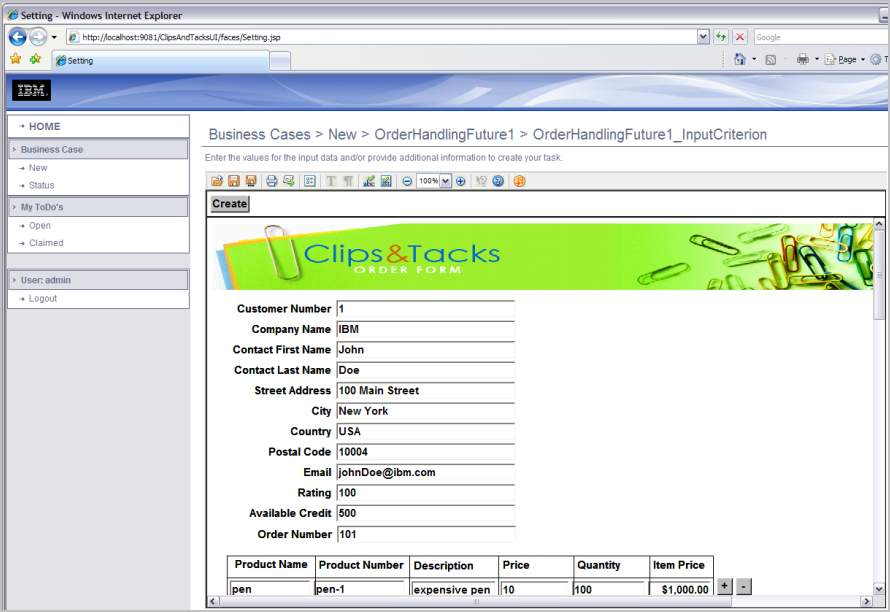
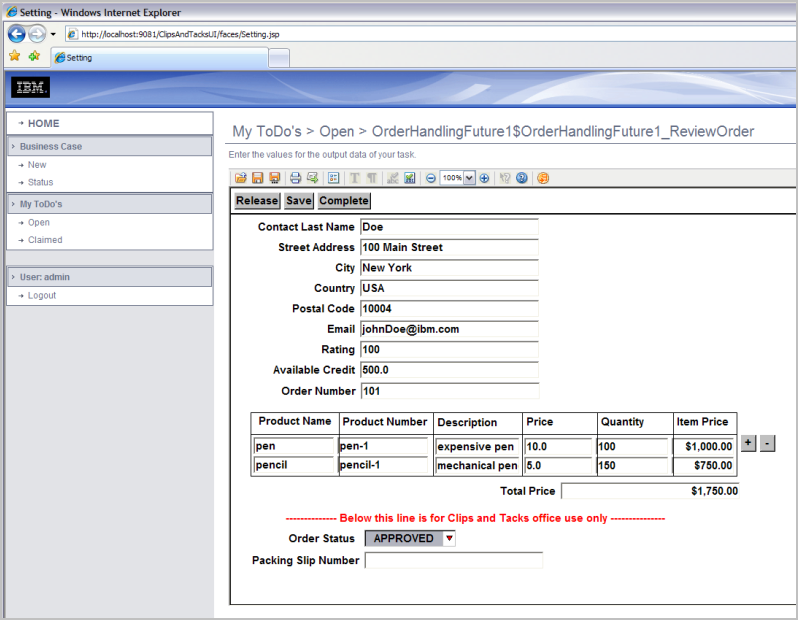
- For this scenario, when you enter the data, the TotalPrice should be greater than $750.00 to force the process to flow to the Review task.
- Do not enter text below the red text that reads Below this line is for Clips and Tacks office use only.
- You can add a new row by clicking the + sign; similarly, you can delete a row by clicking the – sign. You can order multiple items, but ensure there is only one item per row.
- When you have completed the form, click Create to create a new instance of the process.
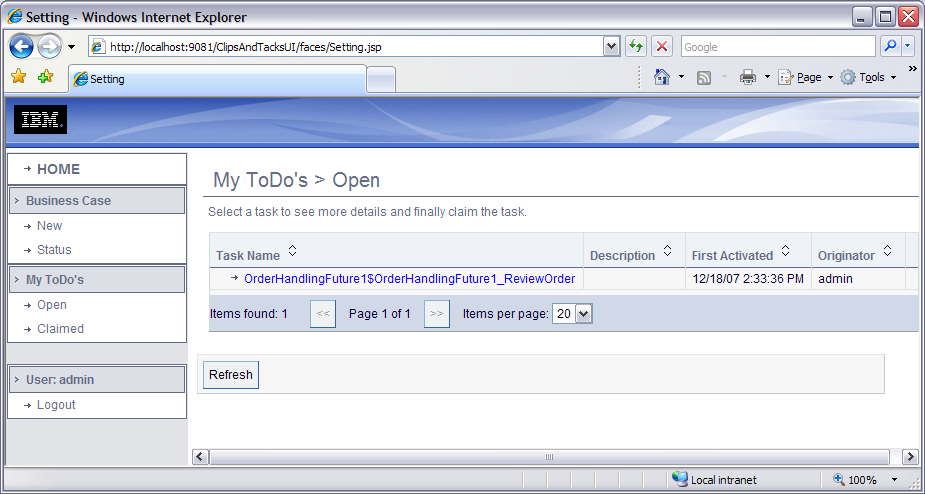
- Under My ToDo’s, click Open.
The order is waiting for the ReviewOrder task to be approved as shown in the
following image.
- Click the waiting task and then under the form click Claim to
work on the task.
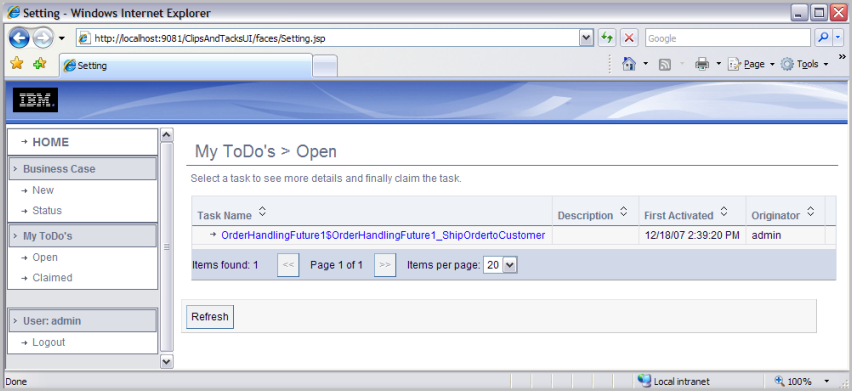
- Click Refresh in the client (not the
browser Refresh). Now the task is waiting for someone to claim and work on
the ShipOrdertoCustomer human task.
- Enter a Packaging Slip number and click Complete to
complete the business process.
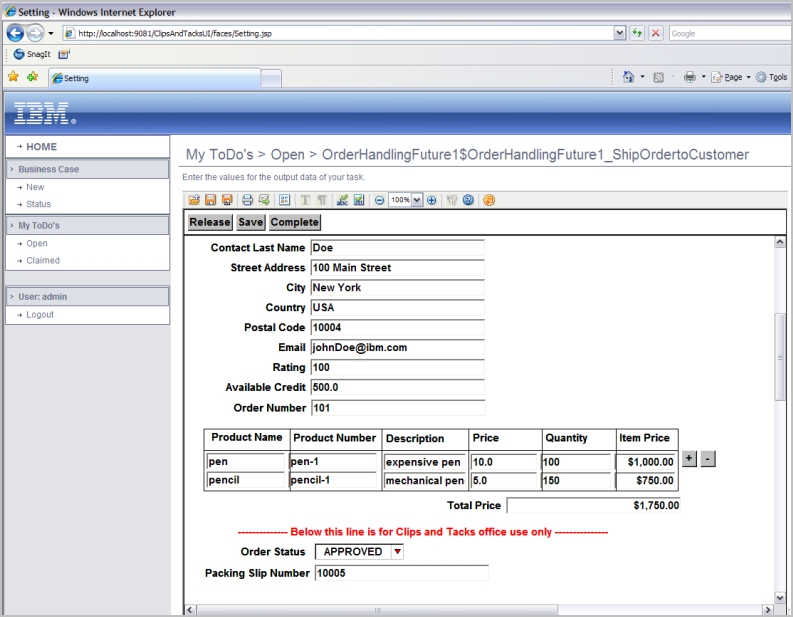
You have just processed one instance of the Clips and Tacks OrderHandling (Future1) business process. Because the total price of the order was more than $750.00 and the available credit was less than the total price, the order went to the ReviewOrder human task (either of the conditions would have sent it to review). The ReviewOrder human task approved the order and it went to the ShipOrdertoCustomer human task. The ShipOrdertoCustomer human task gave it a packaging slip number and sent the order to the customer.
- Enter admin as user ID and admin as
the password and click Login. If you used a different
user ID and password during the installation, then you need to use that user
ID and password.
- To create the dashboard, complete the following steps:
- When prompted, enter admin for the user ID
and enter admin for the password. You must log in with 'admin'
so that you can view the alerts which were setup in Action Services to be
viewed by this particular user ID. Also, in the toolkit environment, this
is the user that is automatically defined on the secured server.
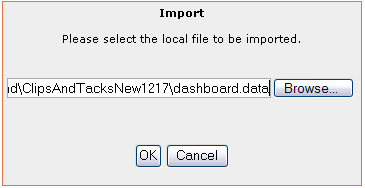
- Click Browse and select dashboard.data from
the unzipped downloaded file and click OK.
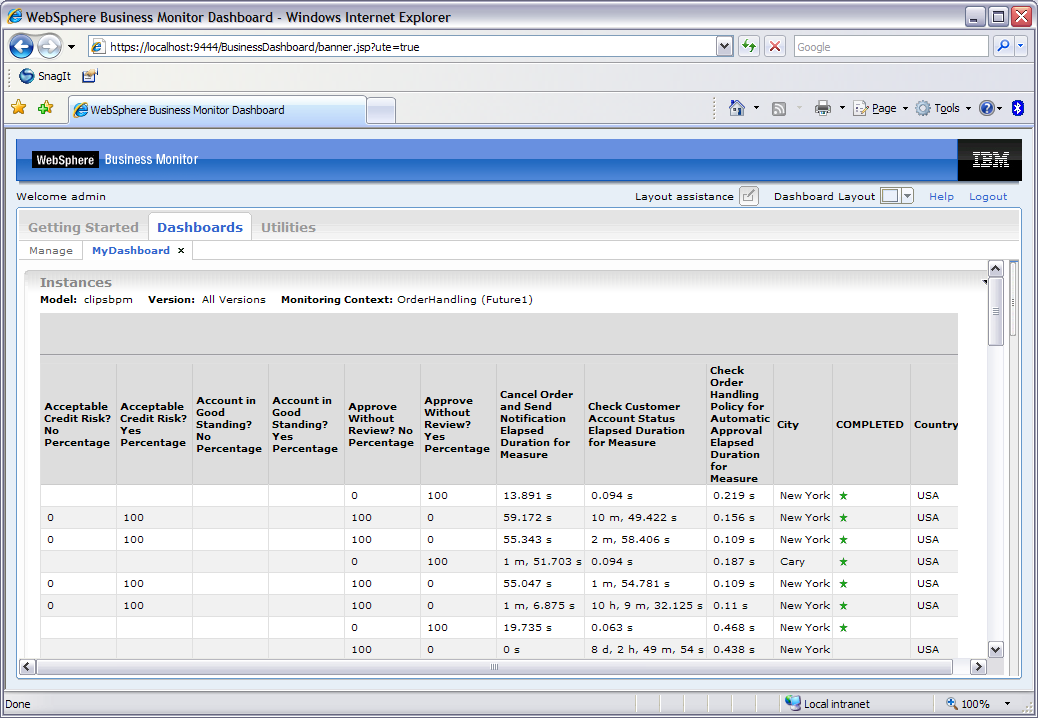
- Click MyDashboard. The dashboard opens.
- When prompted, enter admin for the user ID
and enter admin for the password. You must log in with 'admin'
so that you can view the alerts which were setup in Action Services to be
viewed by this particular user ID. Also, in the toolkit environment, this
is the user that is automatically defined on the secured server.