Basic Sample
Install the HelloWorld application on your WebSphere Process Server. You can find a copy of that application in the Download section.
JavaScript client
In a web browser, open URL http://yourhost:yourport/restjsclient.
Note: Replace yourhost with your server's internet address and replace yourport with the port of your server's HTTP transport,
for example
The source file that contains all HTML and JavaScript code for the client is here.
Now you see the main page of your client:
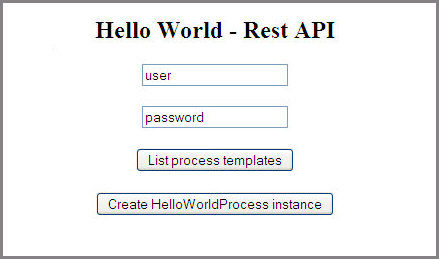
By clicking on List process templates you will see a screen similar to the following:

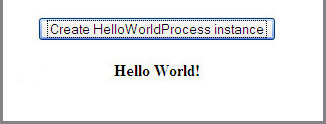
Press Create HelloWorldProcess instance. The return message of the process will be shown:
Windows PowerShell client
In case that you are running Microsoft® Windows® and have
the PowerShell® installed,
you can use the PowerShell script delivered with this sample.
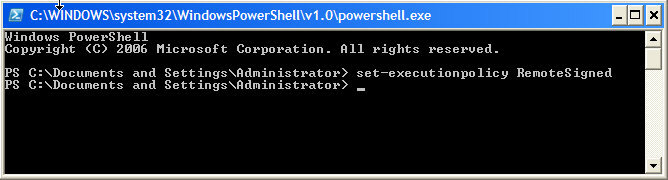
Note that you may have to allow the execution of local scripts, for example by typing
set-executionpolicy RemoteSigned
at the PowerShell's command prompt.
Unzip the file RestClientPowershell.zip from
the Download section to a temporary directory.
Make this directory the current directory.
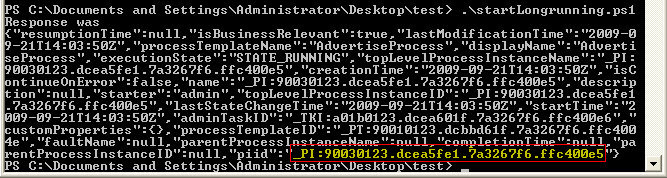
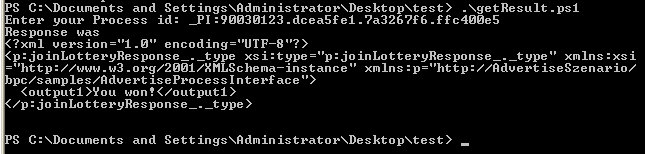
To create a new instance of the HelloWorld process enter .\startMicroflow.ps1
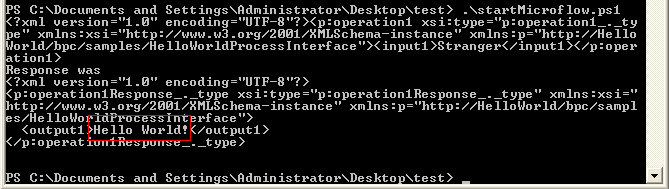
The output, which is represented as a JSON object, is written to the command line window.
Advanced Sample
Install the AdvertiseScenario application on your WebSphere Process Server. You can find a copy of that application in the Download section.
JavaScript client
In a web browser, open the URL http://yourhost:yourport/RestJSClientAdvanced.
Note: Replace yourhost with your server's internet address and replace yourport with the port of your server's HTTP transport,
for example
Now you see the main page of your client:
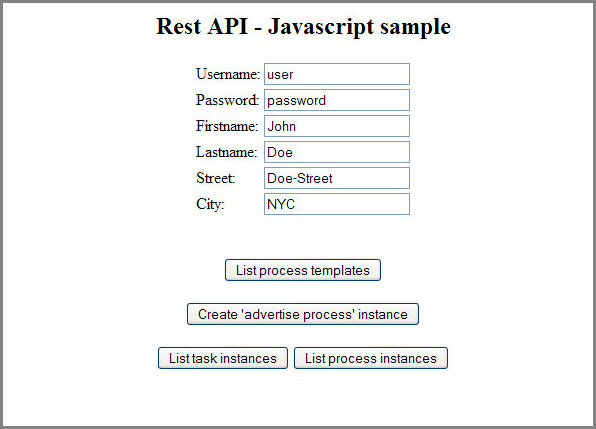
By clicking on List process templates you will see a screen similar to the following:

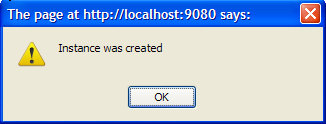
Press Create 'advertise process' instance. A popup windown similar to the following will inform you whether the instance creation was successful.
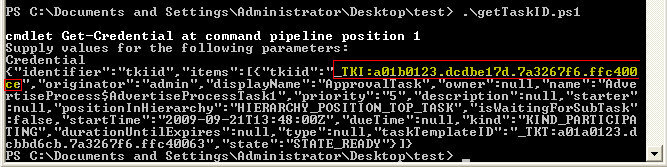
Next, click List task instances. A new table will be created:

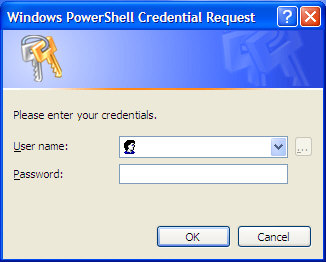
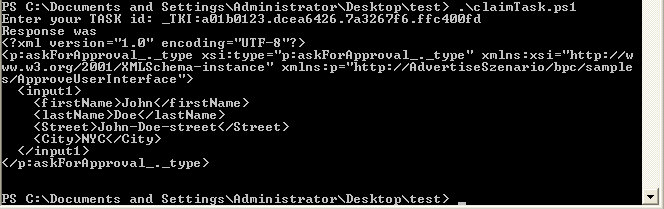
You can click Claim and Complete and watch the system's responses. For illegal actions, the client will do elementary error handling. For example, when clicking the claim operation twice, the client will raise an error message followed by another popup window that displays the complete error response in the JSON representation.
Next, click List process instances. You can see the state of the process.

To view the output of the process, click on Get output to see the output message. You can as well terminate a running process or delete a finished process.