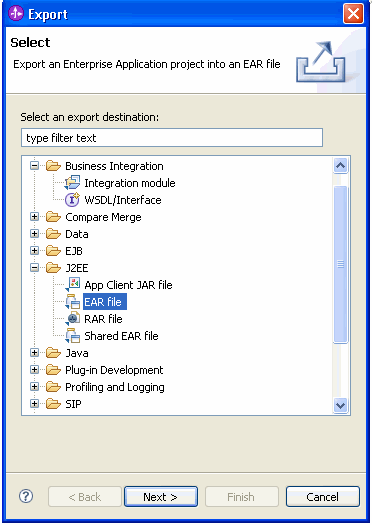
The following steps describe how to import the provided job into WebSphere DataStage, create the information service using Information Services Director, and how to build the business process.
- Import the job into WebSphere DataStage and QualityStage Designer
- Create the information service using Information Services Director
- Build the business process using WebSphere Integration Developer
Import the job into WebSphere DataStage and QualityStage Designer
- From the download section, download and save the provided LogAnalyzer.dsx
file and the nightly.log file to a temporary
directory, for example, C:\temp. - In WebSphere DataStage and QualityStage Designer, select Import > DataStage Components.
- Enter the path to the LogAnalyzer.dsx file and click OK.
The imported job appears in the Repository tree.
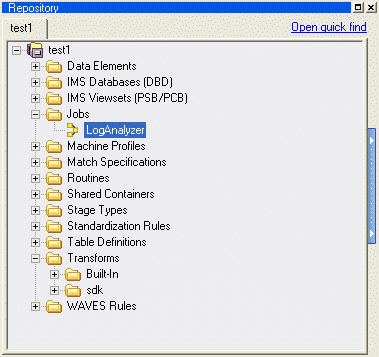
- Double click the LogAnalyzer job.The job design is opened.
- From the menu, select File > Generate Report and click OK.
- In the information dialog click OK.
- From the menu, select File > Compile.
The job should compile without any errors.
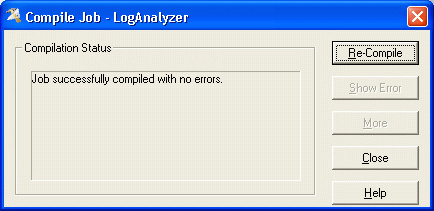
- Click Close.
- The job reads the file nightly.log from location C:\temp. If you've stored the file in a
different location,
you need to adapt the NightlyLog stage of the job to reflect the different location and recompile the job.
Create the information service using Information Services Director
Verify the connection to the DataStage server
- Open the IBM Information Server console (user must have IS Admin privileges).
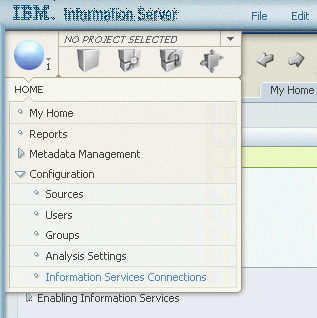
- From the HOME pillar (blue sphere on the top left), expand the Configuration
section and select Information Services Connections as shown below.
- Expand the Select an Information Services Connection to Work With section.
- Verify that the DSServer connection is enabled (has a check mark in the
Enabled column).
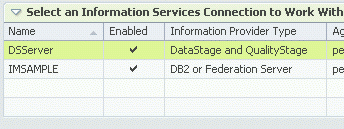
If the DSServer connection does not have a check mark, follow these steps:- Double-click DSServer.
- Press the Edit button on the bottom right. A Save & Enable button appears.
- Enter the user name and password of your DataStage host.
- Click the Test button to validate the connection.
- If the connection was validated successfully, click Save & Enable.
- Press the Edit button again (to leave the edit mode). The Save & Enable button disappears.
- Verify that the DSServer connection now has a check mark as shown above.
Create a new Project
- From the Home pillar, select My Home.
- Select the menu File and then select New Project....
- Select Information Services for type and enter a project name,
for example, ISProject.
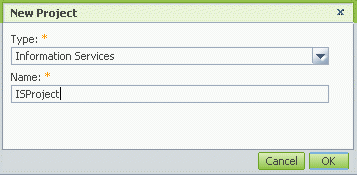
Create a new information service
- From the DEVELOP pillar, select Information Services Application.
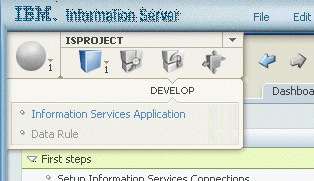
- Expand the Select Information Services Application to Work With section and select New from the task list on the right.
- Specify an application name, for example, LogAnalyzerApp.
- Click Save Application on the bottom right. An Edit button appears.
- In order to switch to the edit mode, click the Edit button. (The button should remain pressed).
- Select New > Service on the bottom left.
- Specify a Service Name, for example, LogAnalyzerService and a description, for example, "provides operations selecting specific messages from log files".
- Click Save Applications.
- Expand the Operations view and double-click the newOperation1 operation.
- Change the operation name to a descriptive name, for example, getExceptions and click Save Application.
- Click Select to select an information provider.
- Select the DataStage and QualityStage type. Your DSServer provider appears in the Select a DataStage Job view.
- Expand your DataStage project and select the LogAnalyzer job.

- Click OK.
- Specify an operation description, for example, "returns all exception messages of the log file".
- Select the Outputs tab and check both Group Arguments
into Structure and Return Array.
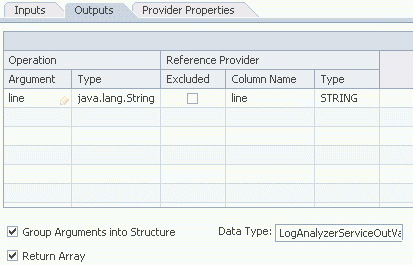
- Click Save Applications.
- Click the Bindings tab.
- In the bottom right corner select Attach Bindings > SOAP Over HTTP.
- Click Save Applications.
- Click the Edit button to leave the edit mode. (The button should be released now).
- Expand the Select Information Services Application to Work With
section, select LogAnalyzerApp, and click Deploy.

- Click Deploy again to deploy the application.
Wait until the progress bar on the bottom disappears.
The application deployment status changes to Deployed.
Build the business process using WebSphere Integration Developer
Create the module
- Open WebSphere Integration Developer
- From the menu, select File > New > Module.
- Enter the module name, for example, LogAnalyzer and click Finish.
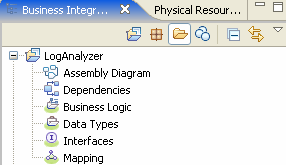
Discover external Information Server service
- Open the Assembly editor by double-clicking on Assembly Diagram.
- From the menu, select File > New > External Service.
- Select Registries and Information Server services and click Next.

- Select Information Server and and click Next.
- Enter Host name, User, Password, set HTTP port to correct value and click Next.
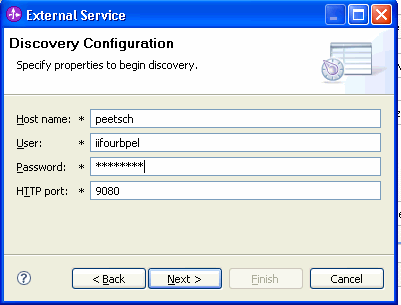
- When the External Services dialog box has opened, search for available objects by clicking on the Run Query button. After the
query result has been displayed, open the LogAnalyzerApp and open the LogAnalyzerService and select the getExceptions operation.

- Click the Details button to get additional information about
the service, the operation, and the underlying DataStage job.
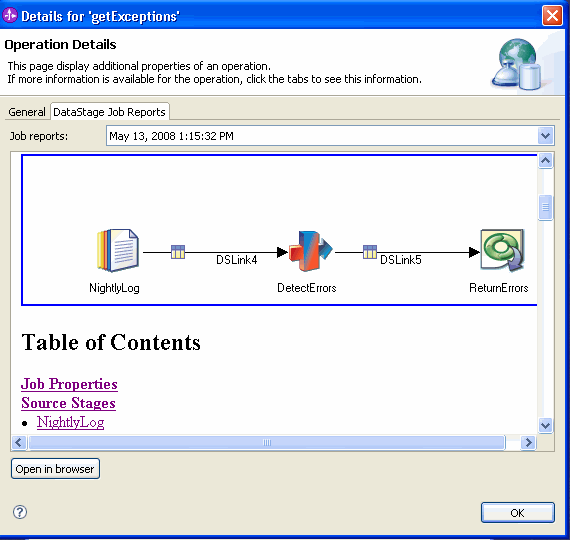
Close the Operation Details. - Add LogAnalyzerService to the Selected objects box by selecting it and clicking ('>').
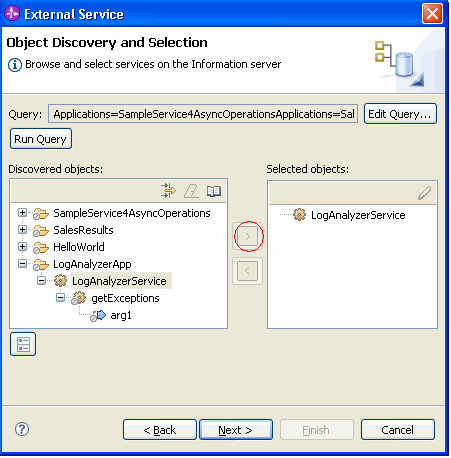
Then click Next.
- The Service Location Properties dialog appears. Set or ensure respectively that the checkboxes are set
as shown.
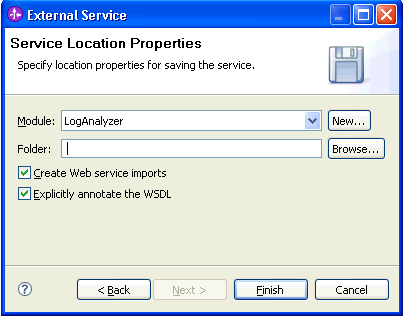
Click Finish to complete the 'External Service' creation. The LogAnalyzerService will now appear in the Assembly Diagram.
- Press Ctrl+s to save your changes or click Save on the toolbar.
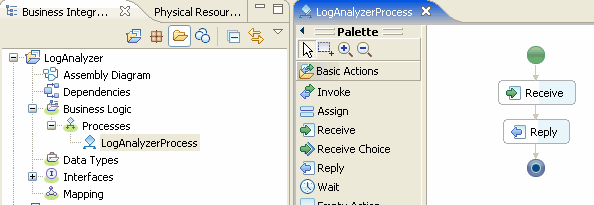
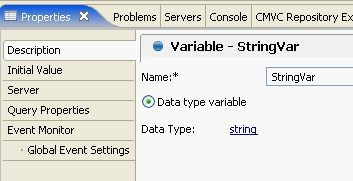
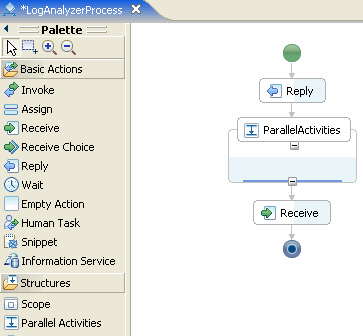
 ),
by clicking the
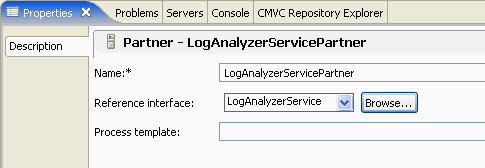


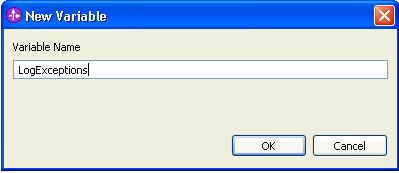
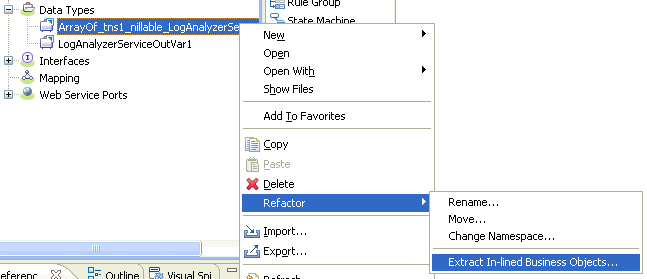


 and select Wire to existing.
