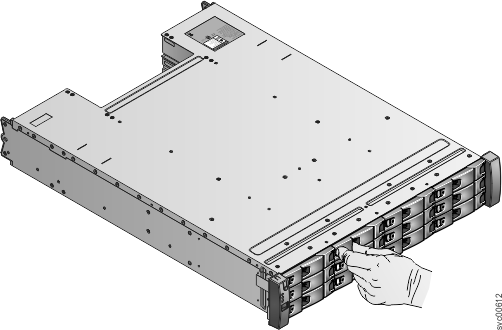
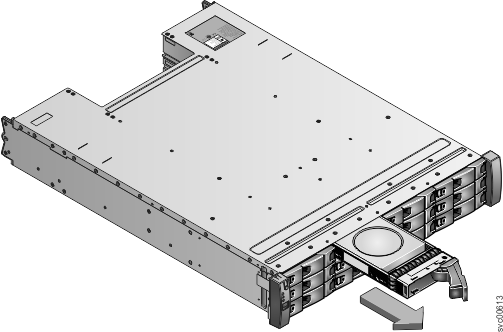
This topic describes how to replace a 3.5-inch drive assembly or blank carrier.
Attention: If your drive is configured for
use, go to the management GUI and follow the fix procedures. Initiating the replacement actions
without the assistance of the fix procedures results in loss of data
or loss of access to data.
Attention: Do not leave a drive slot empty. Do
not remove a drive or drive assembly before you have a replacement
available.
The drives can be distinguished from the blank carriers by the color-coded striping on the drive. The drives are marked with an orange striping. The blank carriers are marked with a blue striping.
To replace the drive assembly or blank carrier, perform the following steps:

