Now you will use WebSphere® Integration Developer to deploy the monitor
model to the WebSphere Business
Monitor server.
- Generate the model.
- In the project tree, expand .
Right-click clipsbpm.mm and select Generate Monitor J2EE Projects.
When generation is complete, select Finish. A progress
dialog box shows the status of the operation and it closes when the operation
is complete. This will take a few minutes.
- Check for errors in the Problems view. There might be warnings,
but there should not be any errors. If you see errors, rebuild by selecting .
Select Clean all projects, and then click OK.
- Next regenerate the forms user interface for the Order Handling
process.
- Click the Business Integration tab in
the left pane.
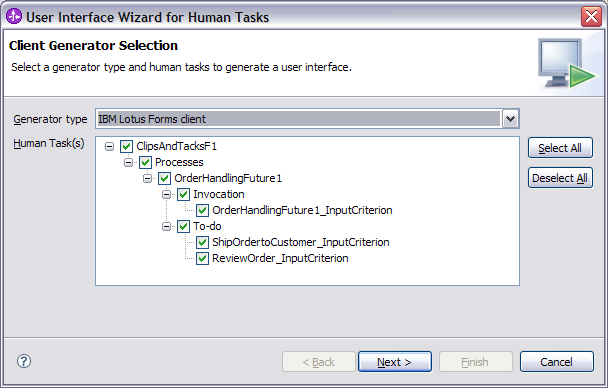
- Right click on ClipsAndTacksF1 from the left pane and select Generate
User Interfaces.
- Select IBM Lotus Forms client as the Generator
type, and click Next.
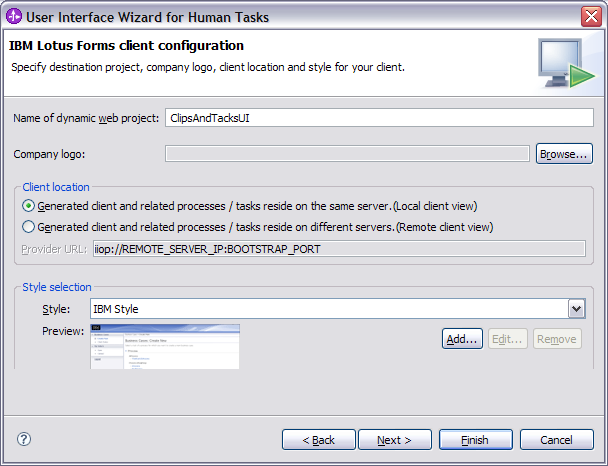
- Name the dynamic Web project ClipsAndTacksUI.
For the style, select IBM Style and click Finish.
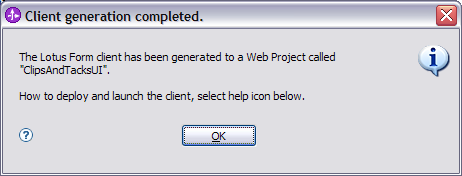
- When you see the Client generation completed message, click OK.
- Deploy the generated projects.
- Click the Servers tab and then right-click WebSphere
Business Monitor v6.1 on WebSphere Process Server and select the Start option
to start the server. Starting the server might take a few minutes.
- After the server has started, right-click WebSphere
Business Monitor v6.1 on WebSphere Process Server again and select Add
and Remove Projects.
- Move ClipsAndTacksF1App, ClipsAndTacksUIEAR,
and clipsbpmApplication from the list of available
projects to the list of configured projects (you can use Add All if
there are no other projects in your workspace) and then click Finish.
A progress message displays in the lower right-hand corner of the window.
Deploying and starting the applications might take a few minutes.
- Check the messages in the Console view for errors. Note that
because the application was just installed, there are no values for the KPIs
and other metrics yet. The Console view will show warning and error messages
to this effect. The messages will be from the kpi package and indicate a divide
by zero exception. This is expected until Orders are processed. The messages
will repeat every minute until an Order is processed. This is because earlier
in the model it was specified to check the KPI based on a “recurring wait
timer” set at 1 minute.
- In the Servers view, right-click and select Run administrative
console. The administrative console will open in a new tab.
- The administrative console will prompt you for a user ID and
password. For the user ID, enter admin. For the password,
enter admin Click Log in.
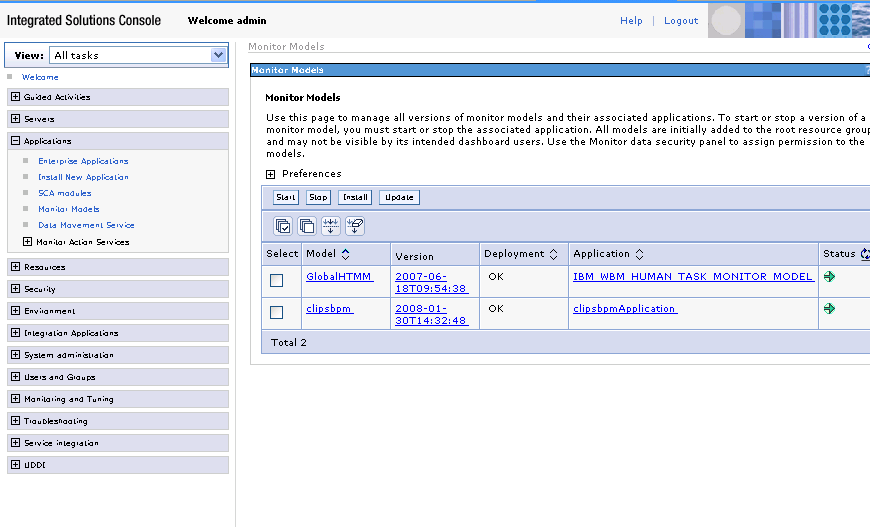
- Select .
If
the application starts, it will show a green status. If the status of clipsbpm
is red, then it is stopped. Wait a moment and then refresh the process by
clicking the icon to the right of Status in the last column of the table.
You should see green to indicate that the model has started. If the model
does not reflect green, wait a few more minutes and refresh the display again.
- In the Console view, check the server log to ensure that there
are no problems other than the KPI divide by zero exception mentioned earlier
that is due to no orders having been processed yet.
- By using the integrated WebSphere Business Monitor server
in WebSphere Integration
Developer, you do not need to set up WebSphere Business Monitor data security
because the administrator is automatically authorized to access all models.
When using an external server in future projects, open the administrative
console, navigate to , and then add the model, role, and
user information to a resource group.