< Previous | Next >

Business process and business rules development

The artifacts from WebSphere® Business Modeler must be converted into an artifact that you can deploy to the server by using WebSphere Integration Developer.

To define business rules, complete the following steps:

  1. In the project tree, expand ClipsAndTacksF1 and select Business Logic > Rule Logic > processes\orderhandlingfuture1.
    Project navigation tree
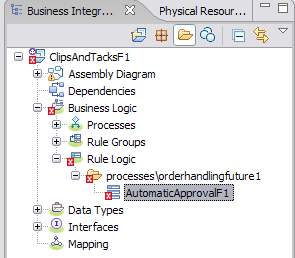
  2. Double-click AutomaticApprovalF1. The business rule set editor opens.
  3. Click the Add Action Rule icon Add Action Rule icon under Rules.
    Business rule set editor
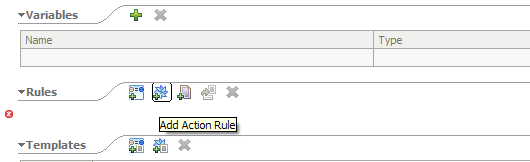
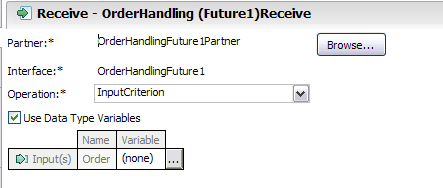
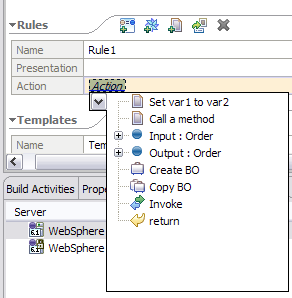
  4. To copy the input variable to the output variable, click Action and select Output:Order. Then select = and then Input:Order.
    Action menu
  5. Add a second rule by clicking the Add Template rule icon Add Template rule icon and select AutoApprovalTemplate.
    Auto Approval Template
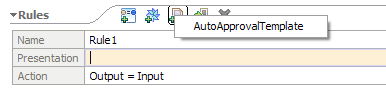
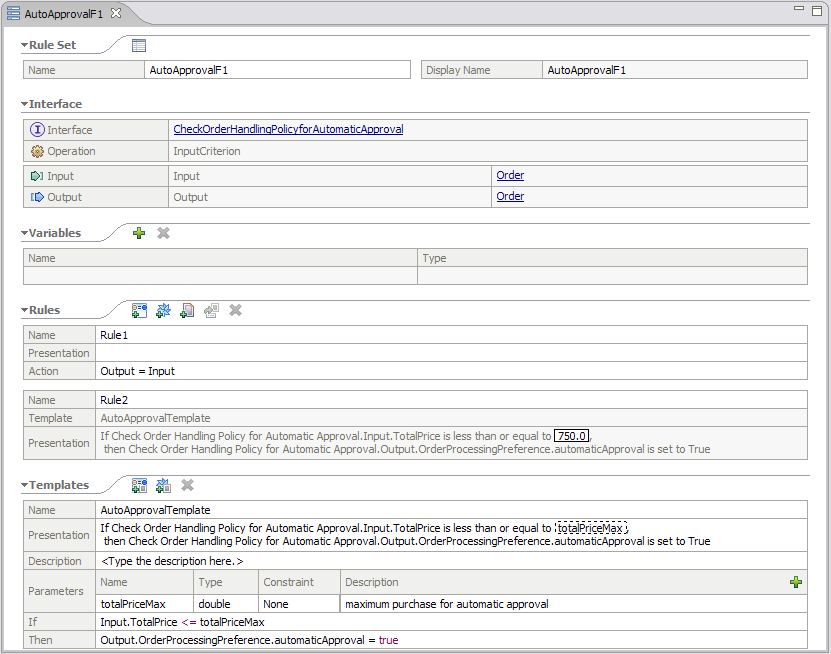
  6. Click Enter value and type 750.00.
    Auto Approval Template, Enter value
  7. Save your work.

All errors have been resolved. The following image shows the completed rule logic.

AutoApprovalF1 rule logic

Remove export from the assembly diagram

Because this process is intended to be launched through the Order form, not through a Web service call, remove the export element from the assembly diagram by completing the following steps:

  1. In the Business Integration view, expand the assembly diagram from the project tree and double-click processes/orderhandlingfuture1/OrderHandlingFuture1. The assembly diagram editor opens.
  2. Every element in the assembly diagram is selected when the assembly diagram is launched. Click on the white space to deselect the elements. Export is the leftmost element in the diagram. Right-click the export element named OrderHandling (Future1), and, ensuring that you have selected only the export and not all of the elements in the diagram, select Delete. You do not need the export because you will add a human task to invoke the business process later.
    Deleting the export element from the Assembly diagram
  3. Save your work.

Create the process invocation method

Create the process invocation method by completing the following steps:

  1. In Business Integration view, expand ClipsAndTacksF1 > Business Logic > Processes > processes\orderhandlingfuture1 and double-click OrderHandlingFuture1. The process OrderHandling (Future1) opens.
    OrderHandling (Future1) flow diagram
  2. Click OrderHandling (Future1)Receive. Select the Properties tab and then select Authorization.
    Authorization properties
  3. Click New. The human task wizard opens. Click the + sign under User Interface and select IBM Lotus Forms client.
    User Interface context menu
  4. In the Properties view, select the Client Settings tab and click Browse. The Select a Lotus® Form wizard opens.
  5. Expand ClipsAndTacksF1 > processes > order and select Order.xfdl. Click OK.
    Select Lotus Form window
  6. In the human task, click Service Interface, then the OrderHandlingFuture1 interface. The OrderHandlingFuture1 interface opens in the interface editor.
  7. Change the name of the input from Input to Order, which is required for the Lotus Forms client, and press Enter. It is important that you press Enter while in this field.
    Operations parameters
  8. Save your work and close the Operations view.
  9. In the human task view, save your work. The following image shows the completed task.
    Completed task
  10. Close the human task editor.
  11. Switch to the OrderHandlingFuture1 business process diagram by clicking the OrderHandlingFuture1 tab and then clicking OK on the following message:
    Message box
  12. In the process diagram, click OrderHandling (Future1)Receive.
  13. In the Properties view, click the Details tab and then click Browse button near the input variable.
    OrderHandling (Future1)Receive details
  14. Select OrderVariable and then click OK. (none) will be replaced with OrderVariable.
  15. Save your work. You should no longer have errors.
< Previous | Next >