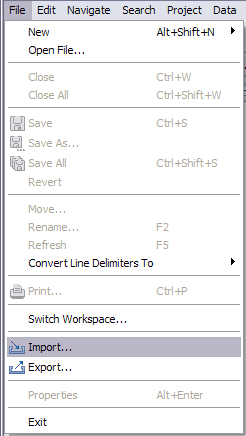
Now you will import the exported file (from WebSphere® Business Modeler) into WebSphere Integration Developer.
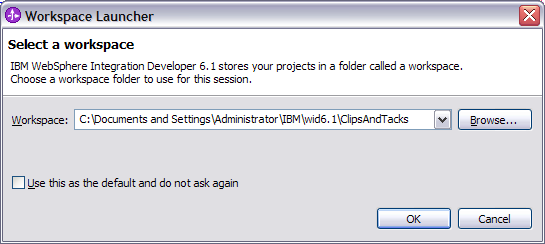
- Start WebSphere Integration Developer Version 6.1. The Workspace Launcher opens.
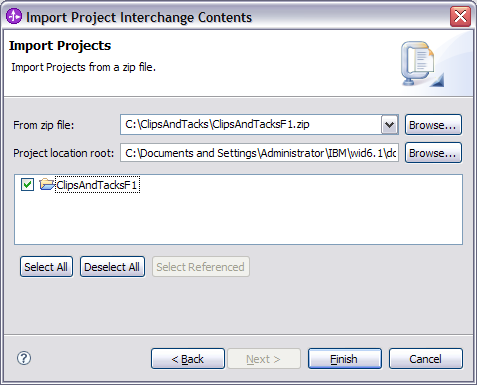
- Import ClipsAndTacksF1.zip by selecting . You can use the ClipsAndTacksF1.zip
file you have created with the previous tasks, or you can use the ClipsAndTacksF1.zip
that is provided with this sample. The Import wizard opens.
- Select and click Next.
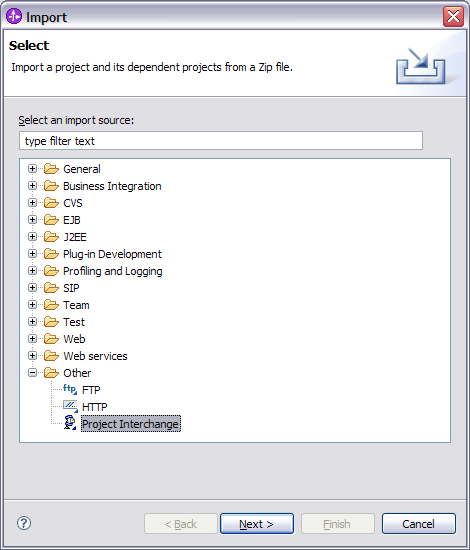
- From the Import Project Interchange Contents page, click Browse and
select the ClipsAndTacksF1.zip exported from WebSphere Business Modeler.
WebSphere Integration
Developer should be displaying the Business Integration perspective: 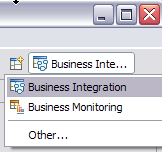
To change to the Business Integration
perspective, click the Open Perspective icon  and choose Business
Integration.
and choose Business
Integration.
Before continuing, wait for Building Workspace to complete. (The status is located in the bottom right-hand corner of the workspace.)
Note: The
ClipsAndTacksF1 project will have some errors at this stage of the sample.