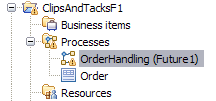
- If the OrderHandling (Future1) process is
not open already, expand ClipsAndTacksF1 > Processes and
double-click OrderHandling (Future1) to open it.
- Right-click the start node
 on the canvas and delete
it.
on the canvas and delete
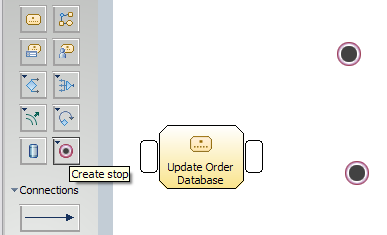
it. - Right-click the stop node
 on the canvas and delete it.
You might have to scroll to the right and down to see the stop node. From
the palette, you can reduce the size of the canvas by using the
on the canvas and delete it.
You might have to scroll to the right and down to see the stop node. From
the palette, you can reduce the size of the canvas by using the  icon to reduce the
width and the
icon to reduce the
width and the  icon to reduce the height.
 - On the palette, click the Local Business Rules task icon
 and then click the canvas. Rename the local
business rules task to Check Order Handling Policy for Automatic
Approval. You can resize the task to fully display the text if
you wish. As you add new elements, make sure that you add them to the right
of the previously added item. A figure with all the elements in the process
is included in the Connect (wire) the task section.
and then click the canvas. Rename the local
business rules task to Check Order Handling Policy for Automatic
Approval. You can resize the task to fully display the text if
you wish. As you add new elements, make sure that you add them to the right
of the previously added item. A figure with all the elements in the process
is included in the Connect (wire) the task section.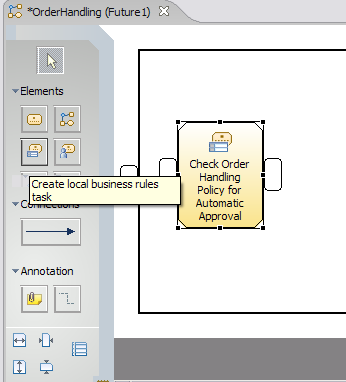
- Click the Create simple decision icon
 and then click the canvas. Rename the simple decision
to Approve Without Review?
and then click the canvas. Rename the simple decision
to Approve Without Review? - Click the Create local task icon
 and then click the canvas. Rename the local task to Check
Customer Account Status.
and then click the canvas. Rename the local task to Check
Customer Account Status. 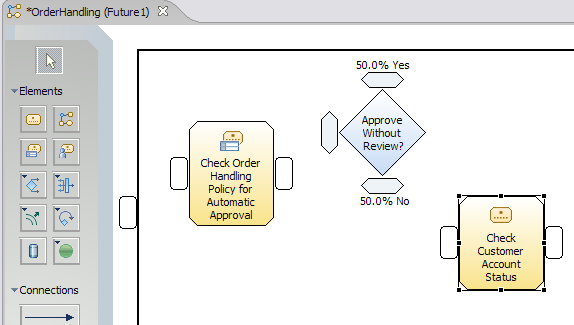
- Click the Create simple decision icon and then click the canvas to the right of the Check
Customer Account Status task. Rename the simple decision to Account
in Good Standing?
- Click the Create Merge icon
 and then click the
canvas.
and then click the
canvas. 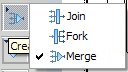
If you do not see the Create Merge icon in the palette, click the top left of the Create Join icon
 in the palette to expand its options. Place the merge elements on
the canvas from left to right as you define them to align with other steps
later in this sample.Note: Do not delete a merge element. WebSphere® Business Modeler generates names for the merge elements relative to when the merge element is added to the canvas. In the monitoring design phase, these names are used to create the monitoring model. Also, you can move the merge elements but do not change the relative left-to-right position of two merges elements.
in the palette to expand its options. Place the merge elements on
the canvas from left to right as you define them to align with other steps
later in this sample.Note: Do not delete a merge element. WebSphere® Business Modeler generates names for the merge elements relative to when the merge element is added to the canvas. In the monitoring design phase, these names are used to create the monitoring model. Also, you can move the merge elements but do not change the relative left-to-right position of two merges elements.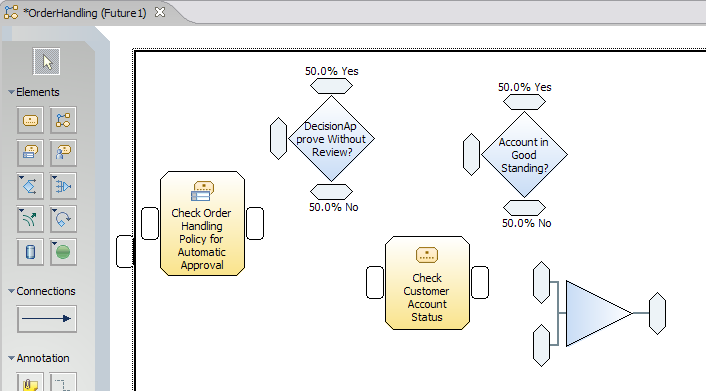
- Click the Create local human task icon and then click the canvas. Rename the local
human task to Review Order.
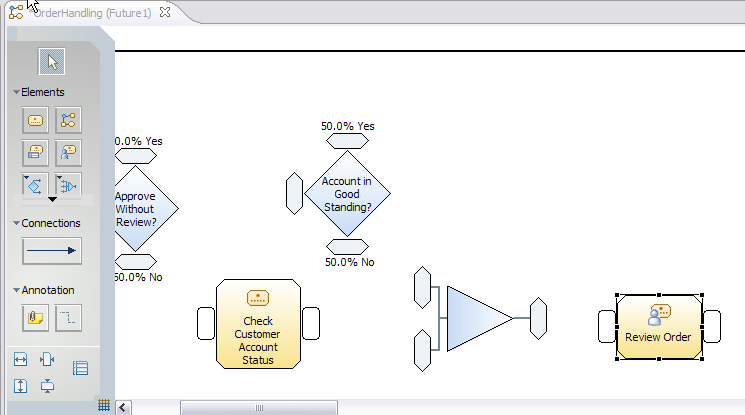
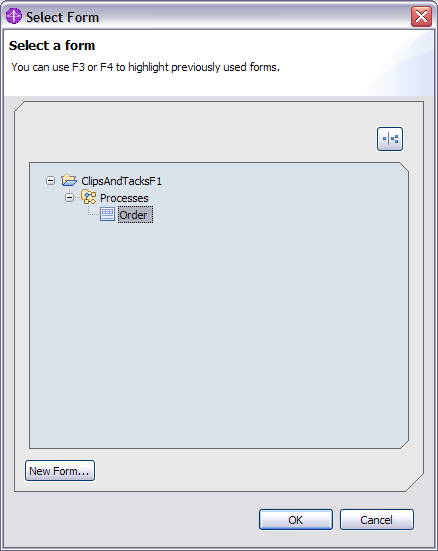
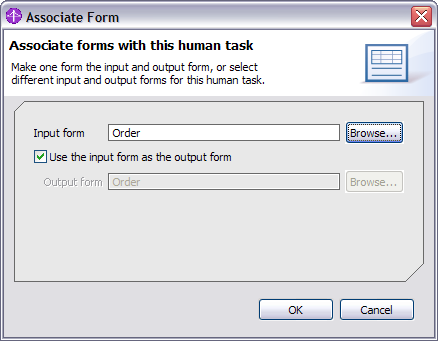
- Right-click the Review Order task, select Associate
Form. Click Browse and select Order from
the ClipsAndTacksF1 project. Then click OK.
- Leave the default. Use the input form as the output form selected
and click OK.
- Add a Stop node by clicking the Create Stop icon on the palette and then clicking the canvas. (If you do not see the Create
Stop icon, then click the top left of Create Start to
expand the options.)
- Add a second Stop node.