To build, test, and run the Hello World sample, complete the following tasks:
- Import the Business Process Execution Language (BPEL) module.
- Modify the BPEL module to emit Common Base Events (CBEs).
- Generate the WebSphere® Business Monitor model.
- Add a new metric to the WebSphere Business Monitor model.
- Generate J2EE projects of the WebSphere Business Monitor model.
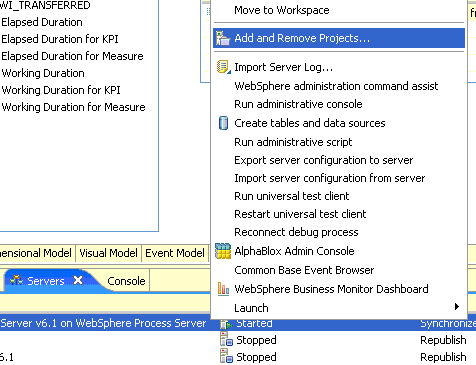
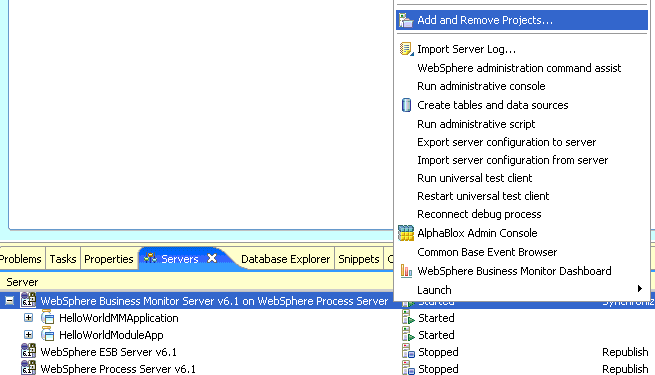
- Install the BPEL module and WebSphere Business Monitor model on a WebSphere Business Monitor development server.
- Create an instances dashboard for the WebSphere Business Monitor model.
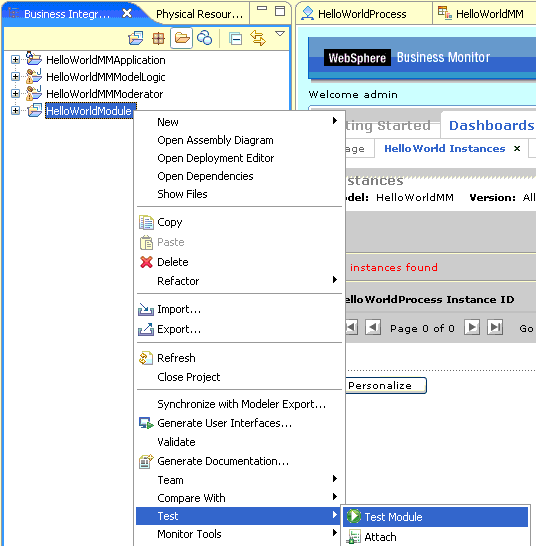
- Test the WebSphere Business Monitor model.
In addition, you can complete the following optional tasks:
- Export the dashboard definition.
- Remove the dashboard definition.
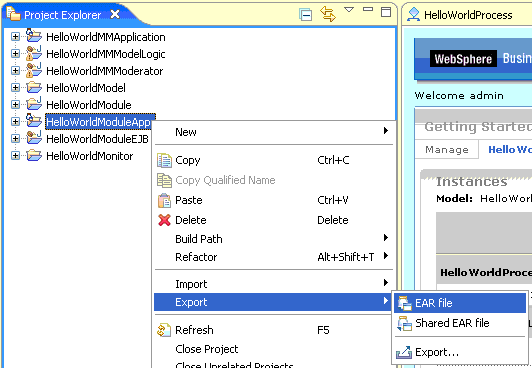
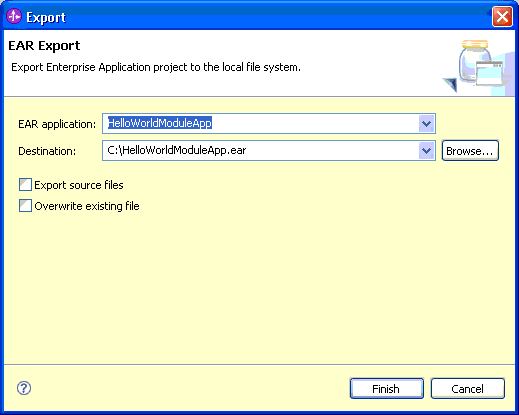
- Export the BPEL module and WebSphere Business Monitor model .ear files.
- Uninstall the BPEL module and WebSphere Business Monitor model.
- Install the BPEL module and WebSphere Business Monitor model on a WebSphere Business Monitor production server.
Import the BPEL module
- From the Help menu, click Samples > Tutorials (WebSphere Integration Developer).
- On the Welcome page for the Hello World Part 1: Getting Started sample, click Import.


Modify the BPEL module to emit Common Base Events (CBEs)
- From the Business Integration view, right-click HelloWorldProcess and click Open.
- From the Properties view, click Event Monitor.
- Select All.
- From the HelloWorldProcess editor, click the InputMsg variable.
- From the Properties view, select All.
- From the File menu, click Save.


Generate the WebSphere Business Monitor model
- From the Business Integration view, right-click HelloWorldModule and click Monitor Tools > Generate Monitor Model.
- On the Generate Monitor Model dialog box:
- In the Target monitor project field, enter HelloWorldModel.
- In the Target monitor model name field, enter HelloWorldMM.
- Click Next.


- On the Event Source tab, select HelloWorldProcess.
- On the Monitoring Templates tab, click Select All.

- On the Event Source tab, click InputMsg.
- On the Emitted Events tab, click Select All.
- Click Next.


Add a new metric to the WebSphere Business Monitor model
- From the HelloWorldMM editor, right-click HelloWorldProcess and click New > Metric.
- On the Create New Metric dialog box, in the Name field, enter HelloWorldProcess Name and then click OK.

- From the HelloWorldMM editor:
- Select the This metric can be used for sorting check box.
- On the Metric Value Expressions page, click Add.
- Again from the HelloWorldMM editor, on the Metric Value Expressions tab, select the Expression column and click the ... button.
- On the Expression dialog box:
- In the text box, enter fn:substring(InputMsgCHANGED/InputMsg, 7) or use the expression builder (Ctrl + spacebar) to create the expression.
- Click OK.
- From the File menu, click Save.


Generate the J2EE projects of the WebSphere Business Monitor model
- From the Project Explorer view, right-click the HelloWorldMM model and click Generate Monitor J2EE Projects.
- On the Generate Monitor J2EE Projects dialog box, click Finish.