In this lesson, you will create the business process.
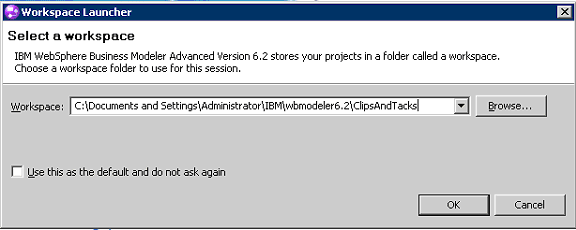
- Start WebSphere® Business Modeler Advanced V6.2. The Workspace Launcher wizard opens.
- Create a new workspace for this tutorial, such as C:\Documents
and Settings\Administrator\IBM\wbmodeler6.2\ClipsAndTacks.
Do not select Use this as the default and do not ask again.
Click OK.
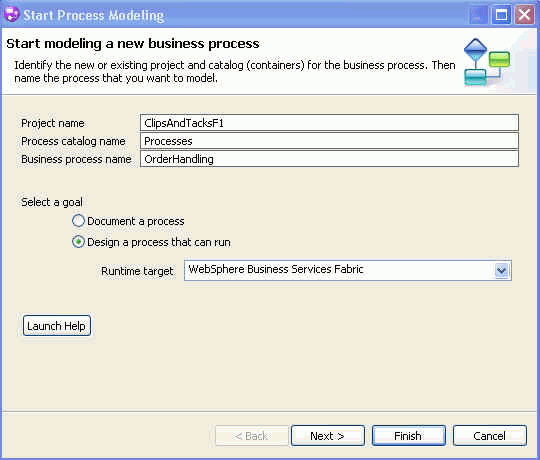
- On the Welcome window, click Close Product Welcome. The Start Process Modeling wizard opens.
- Enter ClipsAndTacksF1 as
the project name, leave Processes as the process
catalog name, and enter OrderHandling as the
business process name. Select Design a process that can
run and choose WebSphere Business Services
Fabric as the runtime target. Then click Next.
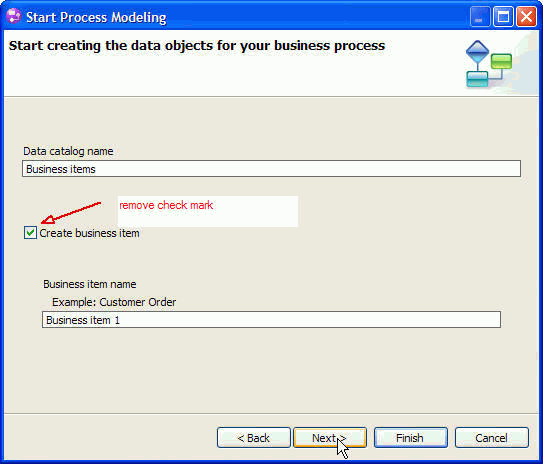
- Clear the Create business item check
box and then click Next.
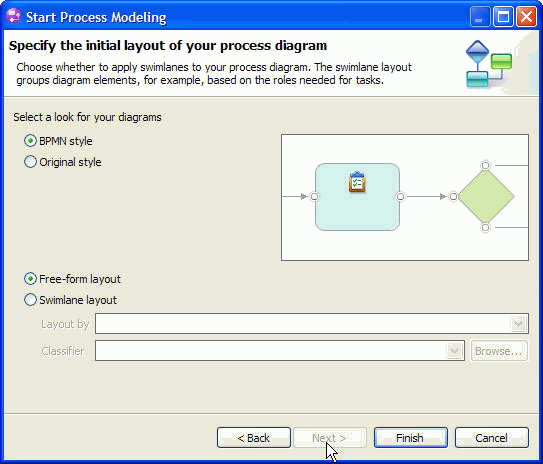
- Select BPMN style and click Finish.The project and the business process are created. The Order Handling process opens.
- Click the Apply 4-Pane Layout icon
 in the toolbar at the top of the window.
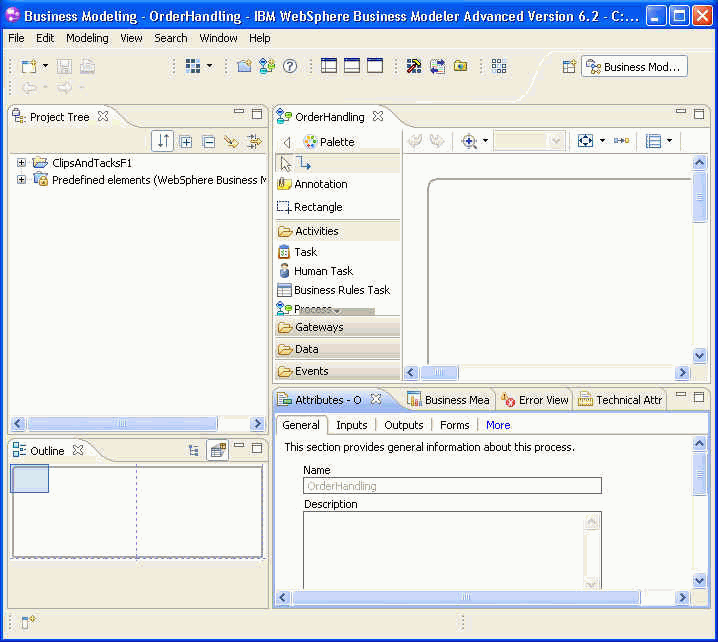
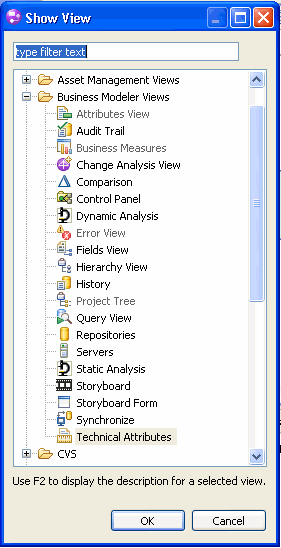
- Optional: If the Technical Attributes view
is not showing, you can display it by selecting , expanding Business Modeler Views,
and selecting the Technical Attributes view.