In this lesson, you will set up a Clips and Tacks business space.
In order to effectively use the Clips and Tacks project you must first set up a Clips and Tacks business space.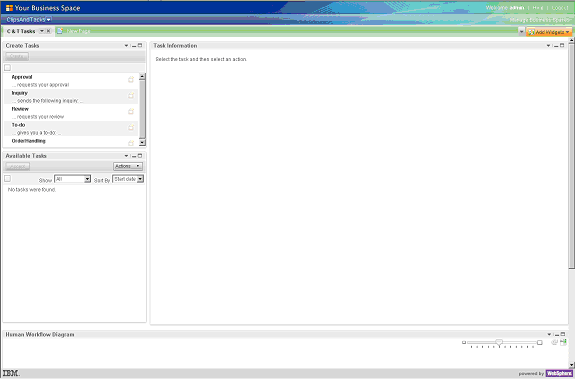
- Set the WebSphere® Integration Developer default browser and log into Business Space.
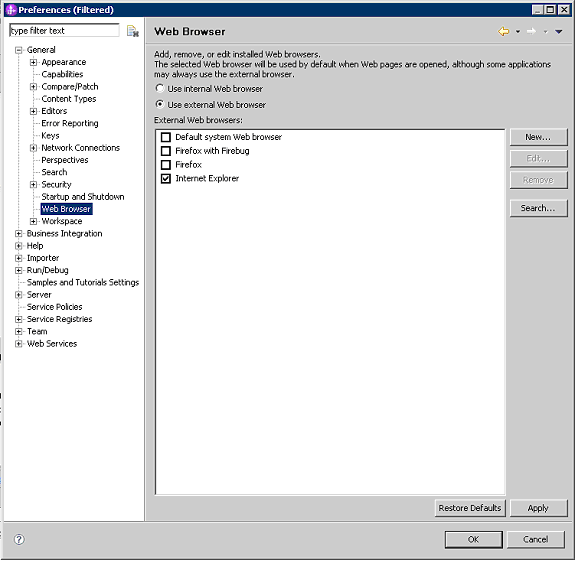
- In WebSphere Integration Developer, click . The default browser might be Internal Web Browser, but it does not have all of the functions that you need. Select Use external Web browser and Default system Web browser or another listed browser other than the internal browser. Click Apply and then click OK.Note: This allows Clips and Tacks to use the default browser for your system, rather than the default browser built into Clips and Tacks.
- In WebSphere Integration Developer, in the Servers view, right-click WebSphere Business Monitor Server V6.2 and select . If a Security Alert warning window opens, click Yes.
- When prompted, enter admin for the user ID and enter admin for the password (or enter the current administrator ID and password if you changed them from the default values). A Business Space Manager window opens.
- In WebSphere Integration Developer, click . The default browser might be Internal Web Browser, but it does not have all of the functions that you need. Select Use external Web browser and Default system Web browser or another listed browser other than the internal browser. Click Apply and then click OK.
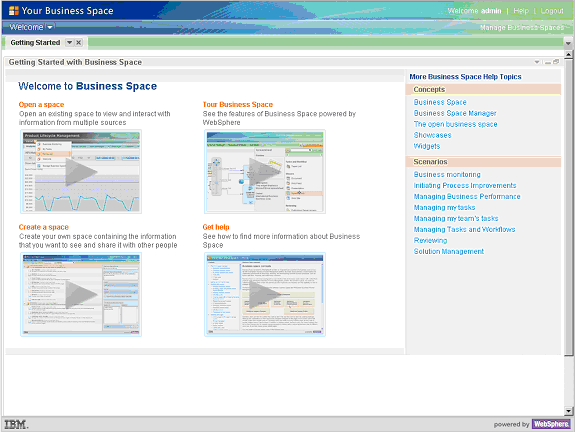
- Click the Manage Business Spaces link in the top-right corner of the page. The Business Space Manager page contains several default business spaces and their respective sample pages, such as the Welcome space and the Getting Started page.

- Click the Create new Business Space icon
 . Name the business space ClipsAndTacks, and then click OK. You can create a Business Space from a template, such as one for monitoring or managing human tasks, however in this sample we show you how to create Business Spaces from scratch using the wizard. This is the resulting ClipsAndTacks business space. You can change the owner and theme by clicking the corresponding Change buttons.
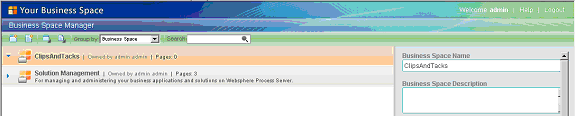
- Click the Create new Page icon
 . Name the page C & T Tasks, select the second layout on the second row, and click OK. This is the resulting C & T Tasks page within the business space.
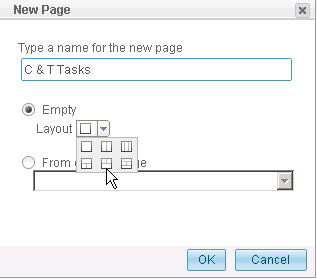
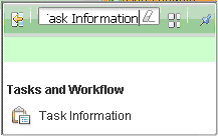
- Click the C & T Tasks link to open it. Click Add Widgets, which is located on the center of the page. The widget palette opens on the right and the cursor is moved to a search field. Type Task Information to filter the widget palette. Click the Task Information widget and drag the item to the top right hand corner of the page.
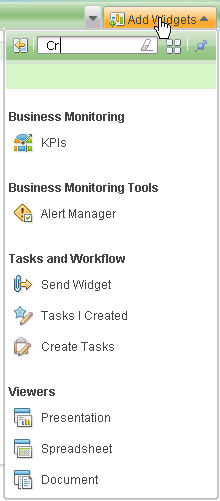
- Next you will add the Create Tasks, Available Tasks and Human Workflow Diagram widgets to your page. Click the Add Widgets in the upper right hand corner to open the palette and add the first two widgets to the left of your page so that they display underneath each other with the Available Tasks widget on the bottom of the top left section of the page. Place the Human Workflow Diagram widget in the bottom section of the page. Placing the Human Workflow Diagram widget is easier if the Available Tasks and Task Information widgets are minimized.
- Click Available Tasks to minimize it. The button is located in the top-right corner of the widget. Repeat with the Task Information widget.

- Resize the bottom edge of the Task Information widget to be side by side with the bottom edge of the Available Task widget.
- Click Available Tasks to minimize it. The button is located in the top-right corner of the widget. Repeat with the Task Information widget.
- Resize the widgets using the following suggestions:
- Restore the Task Information widgets by clicking the Restore icon. Leave Available Tasks minimized.
- Resize the bottom edge of the Task Information widget to be side by side with the bottom edge of the Available Task widget.
- Resize the Create Tasks widget to half of its original width. Hover the mouse pointer over the edge of the widget until the mouse pointer changes to a double arrow. Click and drag it to the left to resize the widget.
- Resize the Create Tasks widget so the bottom edge is as close as possible to the OrderHandling entry in the Create Tasks widget.
- Restore the Available Tasks widgets by clicking the Restore icon.