To build, test and run the hello world sample, follow these steps:
- Create a new module.
- Develop the business process.
- Assemble the SCA module.
- Test the business process.
- Optionally, configure the Business Object Runtime Framework.
- Generate and export the enterprise application.
- Generate documentation for the business process.
- Deploy the business process on WebSphere® Process Server.
- Undeploy the business process from WebSphere Process Server.
Create a new module
To create the HelloWorld module, complete the following steps:
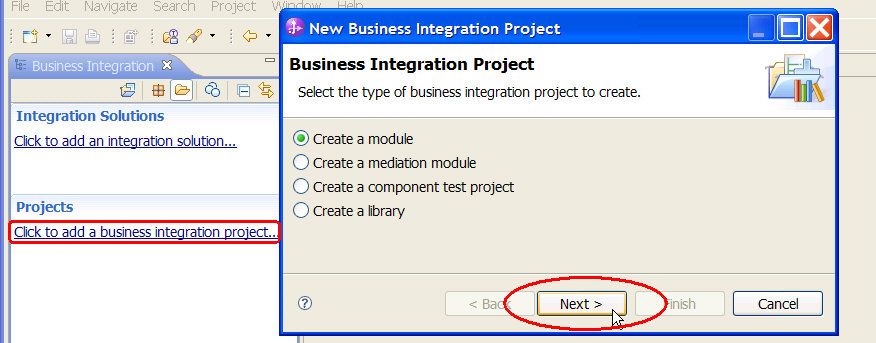
- In the Business Integration view, click Click to add a business integration project under Projects.
(Alternatively: from the menu bar, select File > New > Module). - The New Business Integration Project window opens. Make sure Create a module is selected.
- Click Next.
- In the Module Name field, enter
HelloWorld. - Click Finish. The module will be created. Wait until the automatic build process has finished.
The New Module window opens.
Develop hello world business process
Create the business process
To create the Hello World business process, complete the following steps:
- Switch to the Business Integration view.
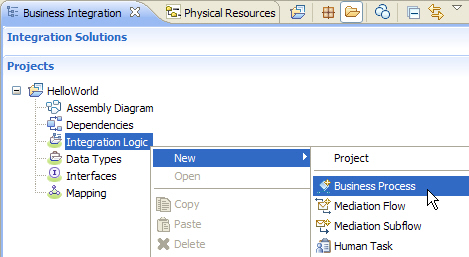
- In the navigation tree, expand HelloWorld and right-click Integration Logic.
- From the pop-up menu, select New > Business Process.
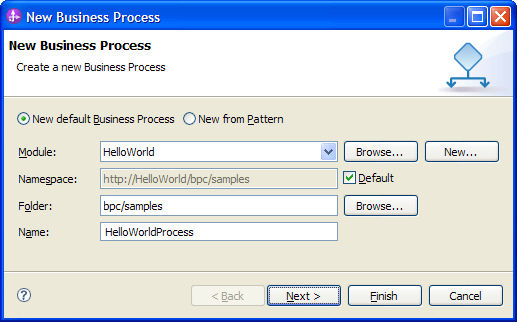
- Make sure New default Business Process is selected.
- In the Name field, enter
HelloWorldProcess. - In the Folder field, enter
bpc/samples. - Accept the default value for the namespace.
- Click Next.
- In the Select a New Business Process Type panel, select Microflow.
- Click Next.
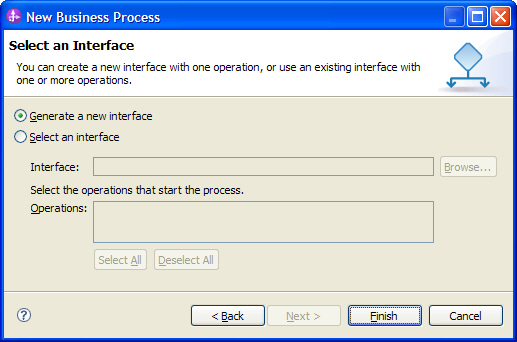
- In the Select an Interface panel, select Generate a new Interface. This generates a predefined process interface, which is ok for this first sample; usually you will first define the process interface and subsequently create the process using that interface.
- Click Finish.
The New Business Process window opens.
Edit HelloWorldProcess
Add a snippet activity
- Click the Snippet icon
 on the palette.
 - Click the connection between Receive and Reply
To find the snippet icon, it may be necessary to expand the Palette by clicking on Basic Actions. The list of activities will be displayed.
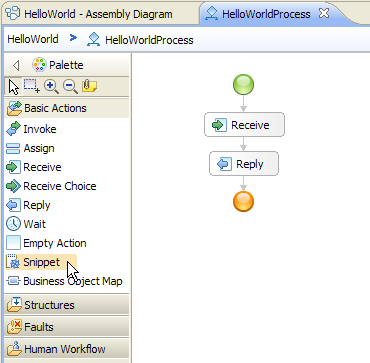

The Snippet activity  is added.
Implement the snippet activity
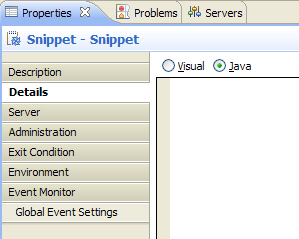
- In the business process editor, click the Snippet activity.
- In the properties view, click the Details tab.
- Select Java as implementation type.
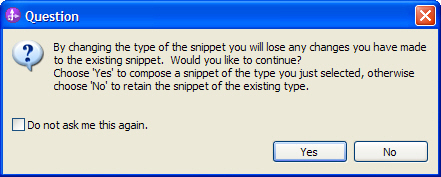
- If the Question dialog appears, click Yes.
- In the text area, enter the following Java code:
- On the toolbar, click the Save button
 .
.
//print the greeting:
System.out.println("Hello, " + input1);
//assign a value to the Output variable:
input1 = "Hello World!";
Add the hello world process to the module assembly
To complete the implementation of the module, follow these steps:
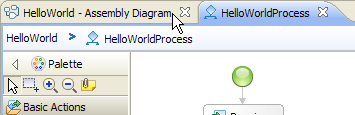
- Switch to the tab HelloWorld - Assembly Diagram.
Note: If the Assembly Diagram of HelloWorld is not opened by default, double-click on HelloWorld > Assembly Diagram in the Business Integration view. - Expand Integration Logic > Processes > bpc\samples.
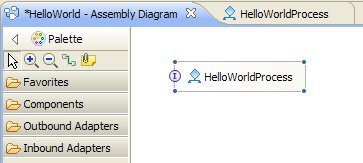
- Drag and drop the HelloWorldProcess to the HelloWorld - Assembly Diagram.
- On the toolbar, click the Save button .
Test the hello world process in the integrated test environment
Install hello world process to the test environment
- In the Servers view, click the Servers tab.
- Ensure that the status of WebSphere Process Server v7.0 is Started. If the status is Stopped or not displayed, right-click WebSphere Process Server v7.0 and select Start.
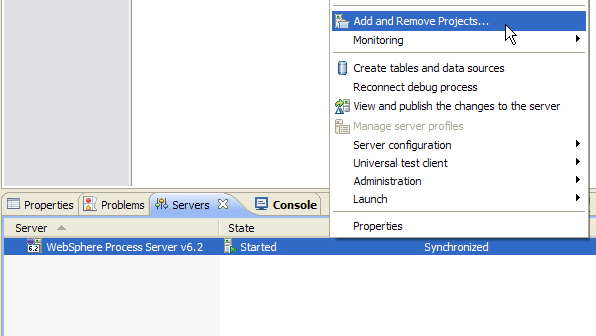
- From the table, right-click WebSphere Process Server v7.0.
- From the pop-up menu, select Add and Remove Projects.
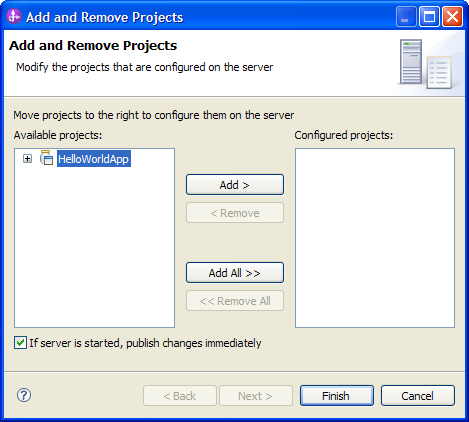
- In the Available projects list, select the HelloWorldApp.
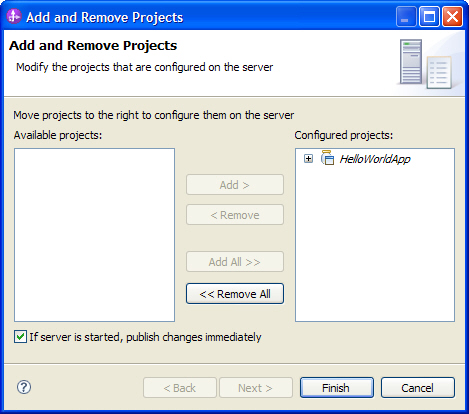
- Click Add. The HelloWorldApp project is moved to the Configured projects list.
- Click Finish. Wait until the automatic publishing process has finished.
The Add and Remove Projects window opens.
Run hello world process using the BPC Explorer
Refer to the Run the Sample section on how to run the hello world process in the integrated test environment.
Configure the Business Object Runtime Framework (optional).
With WebSphere Integration Developer 7.0.0.1 and higher, you can configure the business object runtime framework. The version 7 framework uses partial parsing in a lazy manner which leads to performance improvements in certain scenarios.
Note: This new mode has the status "Technical preview" and is not recommended for production purposes yet.
To enable the new version 7 business object runtime framework, follow these steps:
- Switch to the Business Integration view.
- In the navigation tree, right-click HelloWorld module.
- From the pop-up menu, select Properties.
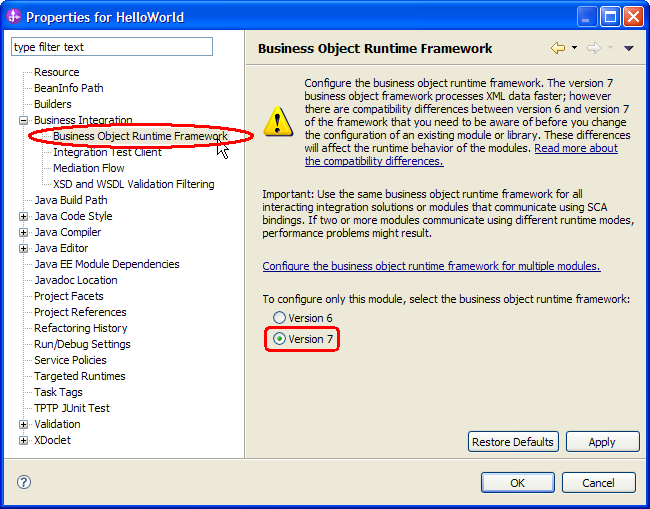
- In the Properties window, expand Business Integration and click Business Object Runtime Framework.
- Select Version 7.
- Click Ok.
Generate and export enterprise application
If you want to run your business process on a WebSphere Process Server, you have to create an enterprise application. Then, you can install this enterprise application to your WebSphere Process Server.
To create an enterprise application for the Hello World business process, follow these steps:
- Switch to the Business Integration view.
- In the navigation tree, right-click HelloWorld module.
- From the pop-up menu, select Export.
- In the Export window, expand Business Integration and click Integration modules and libraries.
- Click Next.
- Select Files for server deployment.
- Select HelloWorld from the list below.
- Click Next.
- Select a target directory.
- Click Finish.
Generate documentation for the business process
You can create a PDF document that contains a detailed description of your business process.
To create the PDF document, follow these steps:
- Switch to the Business Integration view.
- Expand Integration Logic > Processes > bpc\samples.
- Right-click the HelloWorldProcess and select Generate Documentation.
- Specify the file name for the output in the field Location and adjust the other output settings according to your preferences.
- Press Finish.
The generated file will look similar to this: reportFile.pdf
Install the hello world process to WebSphere Process Server
Note: if you do not have a WebSphere Process Server besides the integrated test environment, you can skip this chapter.
To install the Hello World business process to WebSphere Process Server, follow theses steps:
- In a browser, open the administrative console.
The default URL is - If security is enabled, enter a valid User ID and Password. Click Log in.
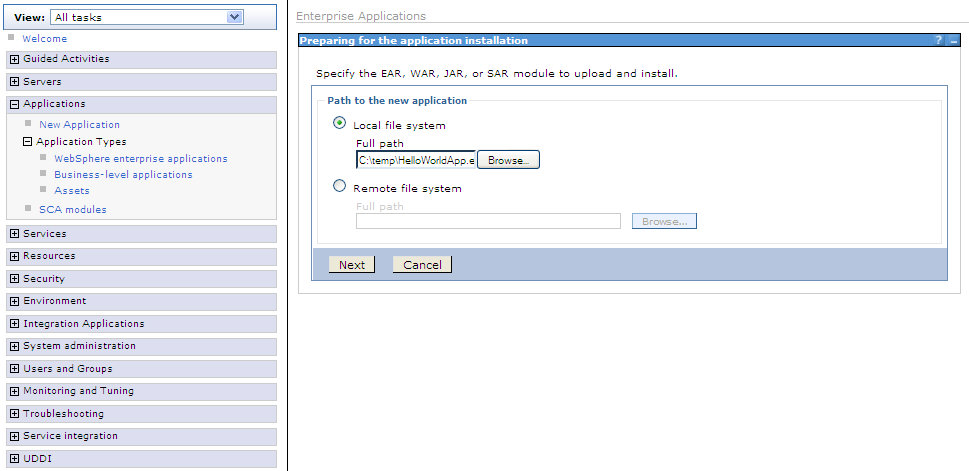
- In the navigation pane, select Applications > New Application.
- Click New Enterprise Application.
- Click Browse and select the EAR file you created earlier.
- Click Next.
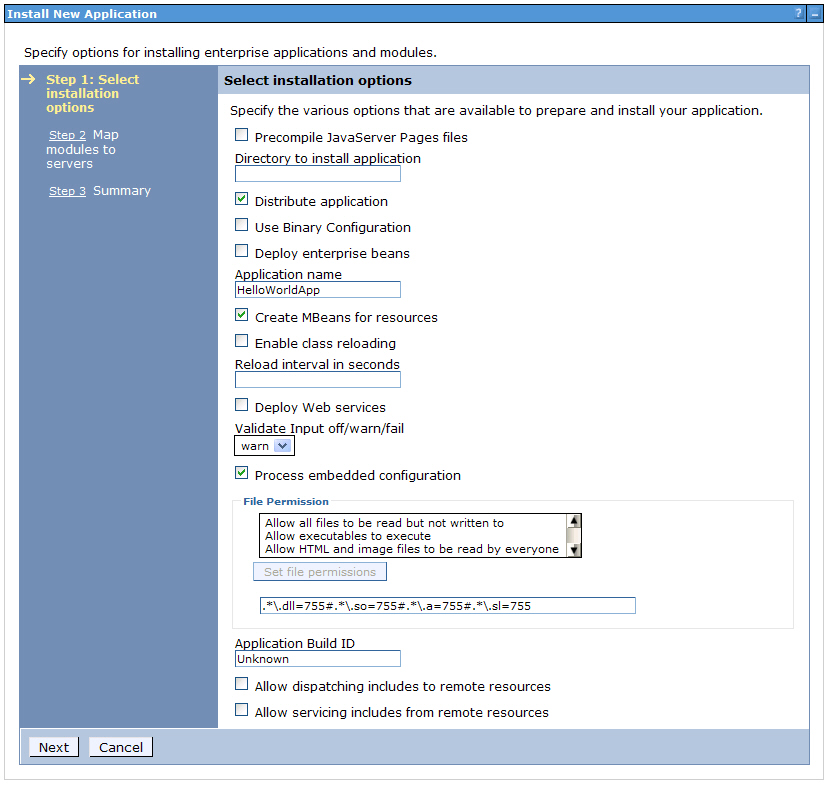
- In the Select installation options dialog, leave the default values.
- Click Next.
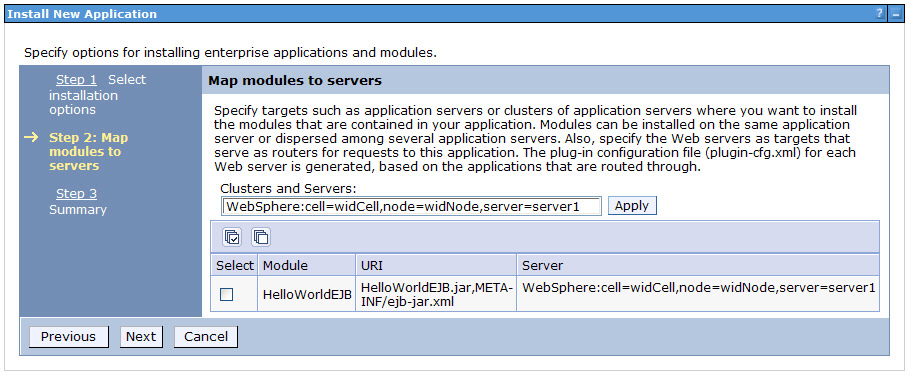
- In the Map modules to servers dialog, leave the default values.
- Click Next.
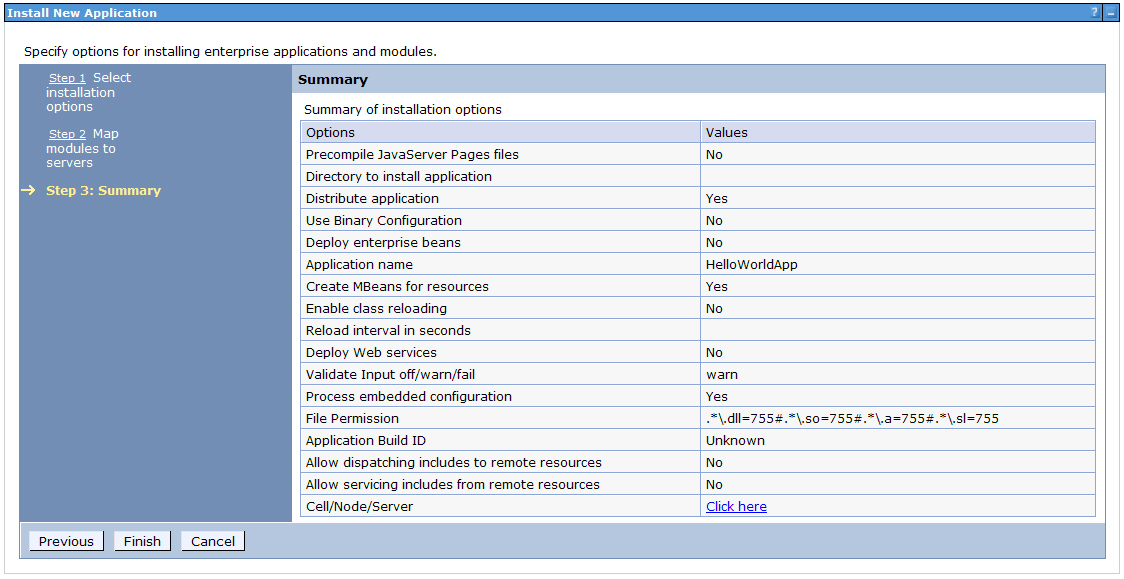
- Review the options in the Summary dialog.
- Click Finish. Your enterprise application will be installed.
- Wait until the installation process is finished. This may take some time.
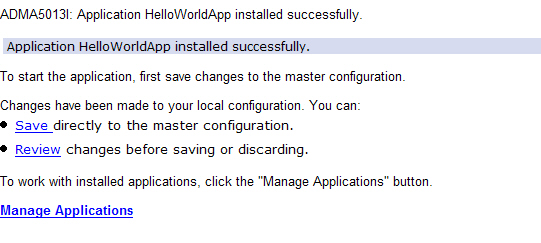
- Follow the link to save the changes to the master configuration:
- Click Save. The Hello World process is now installed.

To start the Hello World business process, follow theses steps:
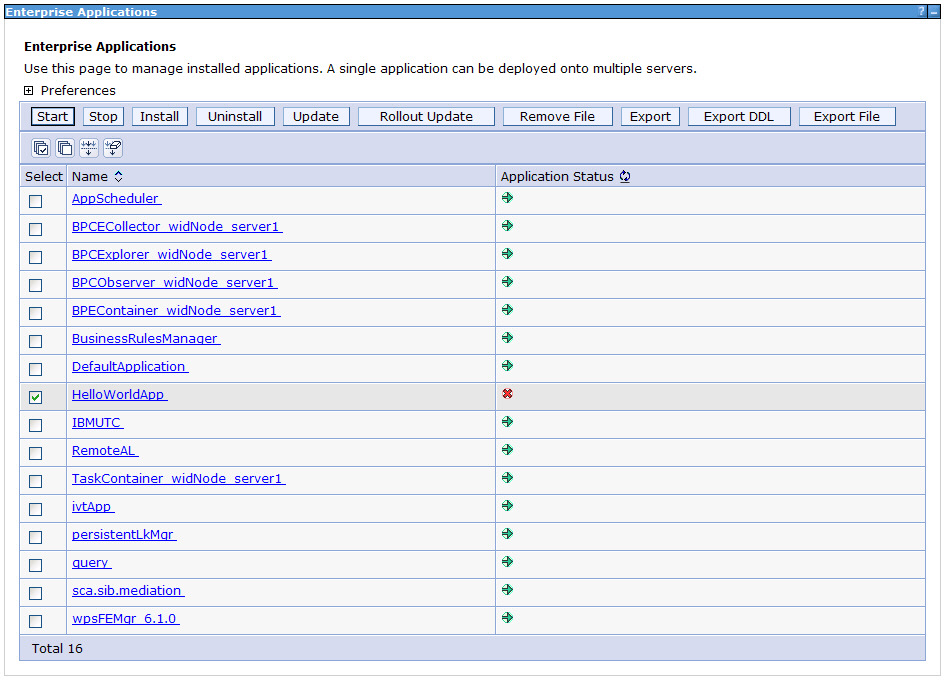
- In the navigation pane, select Applications > Application Types > WebSphere enterprise applications.
- Select HelloWorldApp and click Start.
- The HelloWorldApp application is started. You can now work with the HelloWorld business process.
Run the Hello World process on WebSphere Process Server
Refer to the Run the Sample section on how to run the Hello World process on WebSphere Process Server.
Uninstall the hello world process from WebSphere Process Server
- In a browser, open the administrative console.
The default URL is - If security is enabled, enter a valid User ID and Password. Click Log in.
- In the navigation pane, select Applications > Application Types > WebSphere enterprise applications.
- From the list of applications, click on HelloWorldApp.
- Under Modules, click Manage Modules.
- Click on HelloWorldEJB.
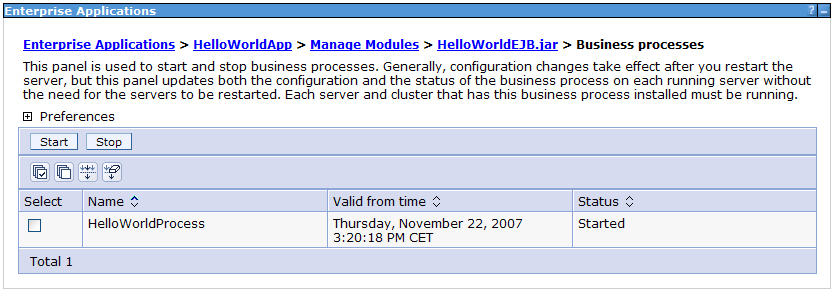
- Under Additional Properties, click Business processes.
- Make sure that no running or terminated process instances exist for this process template.
Note: Process instances may exist in the following cases:- if you selected Long-running process as the Business Process type or under the Properties section,
- and if you disabled the checkbox Automatically delete the process after completion in the Process Editor (by default, this checkbox is enabled).
- Select the HelloWorldProcess process template and click Stop. This makes sure no more process instances of this template can be started.
- In the message section, click Save.
- In the Enterprise Applications list, select HelloWorldApp and click Stop:
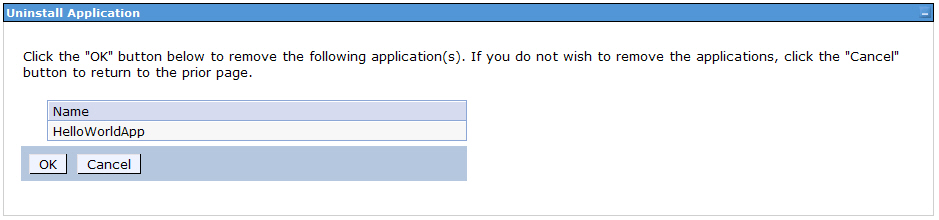
- In the Enterprise Applications list, select HelloWorldApp and click Uninstall.
- In the Uninstall Application screen, click OK:
- In the message section, click Save. The Hello World business process is now uninstalled.