In this section you will configure the test environment server on which you will test the adapter/mediation flow and the monitor model.
- Create a JDBC Provider for DB2.
- Expand Resources on the left hand window.
- Expand JDBC. Click JDBC Providers.
- Set the scope to Node=WBMonSrv_esb_Node.
- Click New. For Database type, select DB2, for Provider type select, DB2 Universal JDBC Driver Provider, and for Implementation type, select XA data source.
- Click Next. Type the directory location
for the indicated jar files.
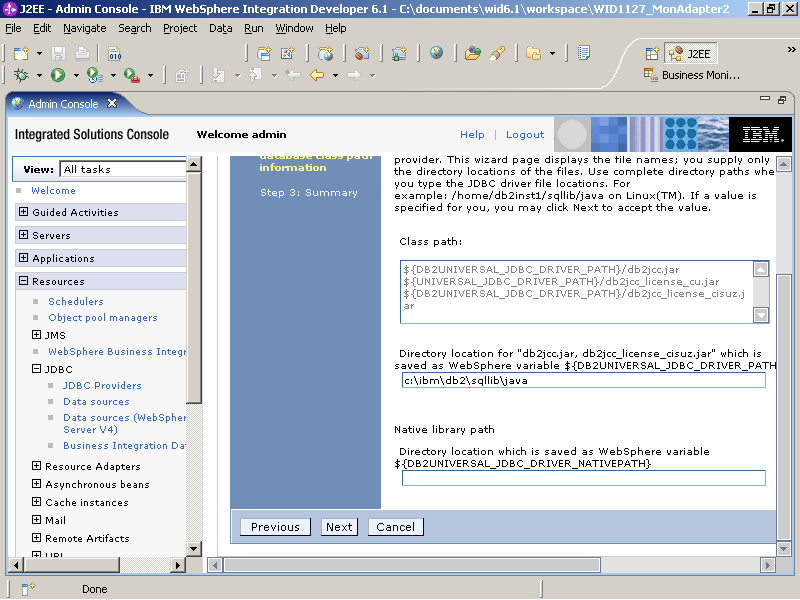
- Click Next.
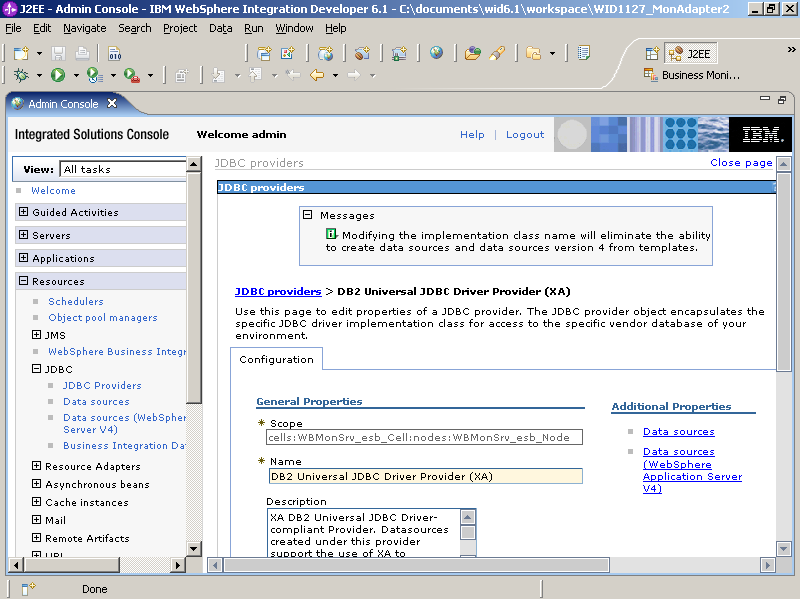
- Click Finish.
- Click Save to save the changes directly to the master configuration.
- Create a data source for the provider just created.
- Click the DB2 Universal JDB Driver Provider (XA).
- Click Data sources.
- Click New.
- Type jdbc/DB2XA for JNDI name. This matches the JNDI name you used when configuring the JDBC adapter. Select WBMonSrv_esb_Node/DB2 as the authentication alias and then click Next.
- Type ADAPTER for Database name and localhost for Server name.
- Click Next and then click Finish.
- Click Save to save the changes directly to the master configuration.
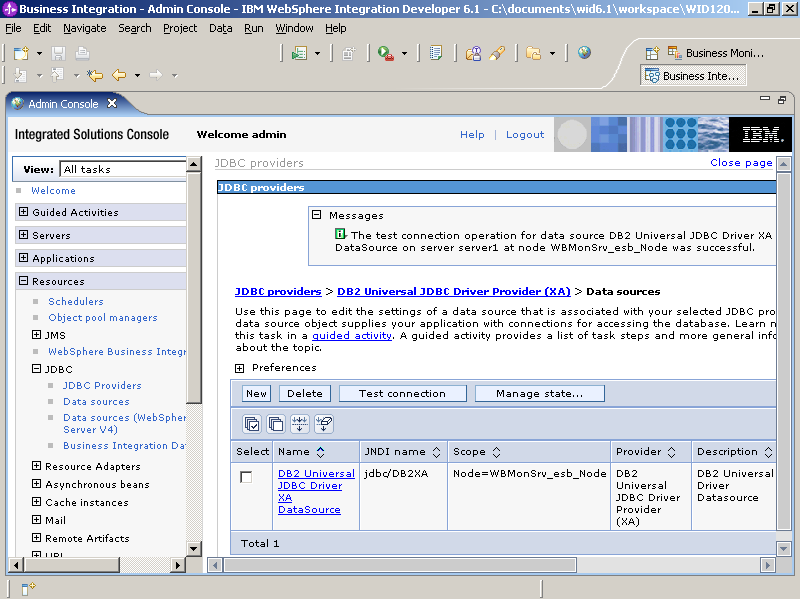
- Click the DB2 Universal JDB Driver Provider (XA).
- Select the box under Select and click Test
connection. Ensure that the test connection is successful.