In this lesson, you will initiate an instance of the process in order to test the policies in run time.
To perform a runtime test using Business Space complete the
following steps:
- In WebSphere® Integration Developer, Select the Business Integration perspective and in the Servers view, right-click the WebSphere Business Monitor Server V6.2 server and select .
- When prompted, enter admin for the user
ID and for the password (or the administrator ID and password if you
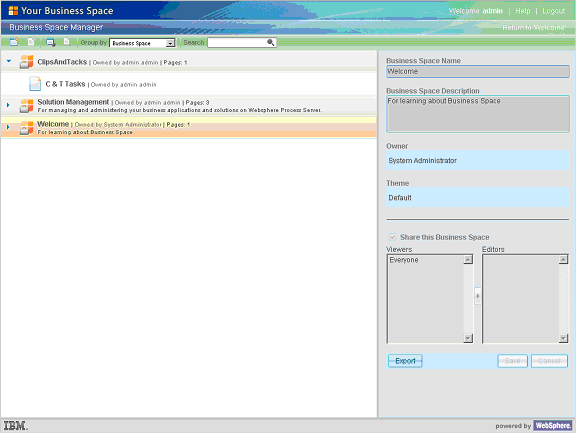
have changed it). A Business Space Manager window
opens.
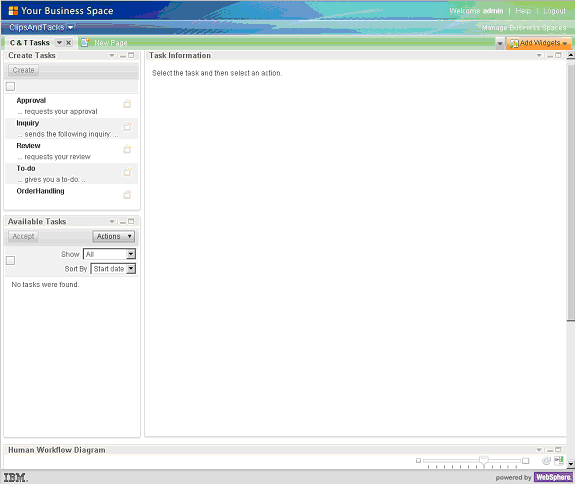
- Click the C & T Tasks link to open
the page.
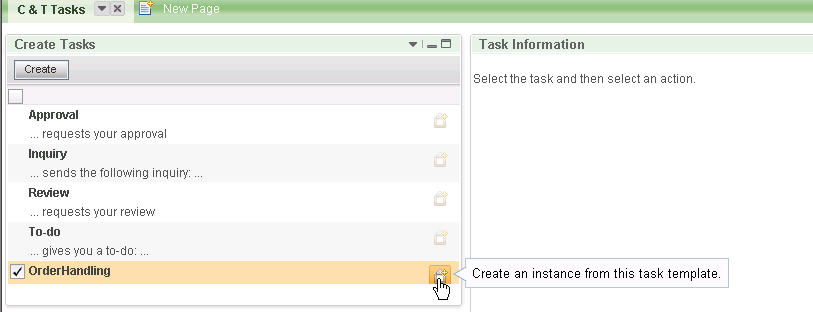
- Create a new instance of the Clips and Tacks Order Handling process
by selecting the OrderHandling task in the Create
Tasks widget. Click the icon on the right side.
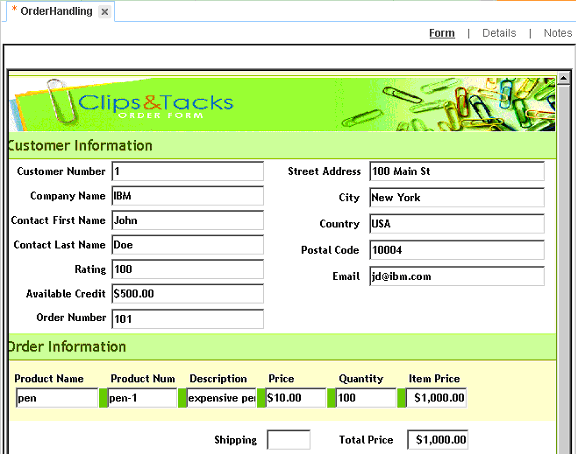
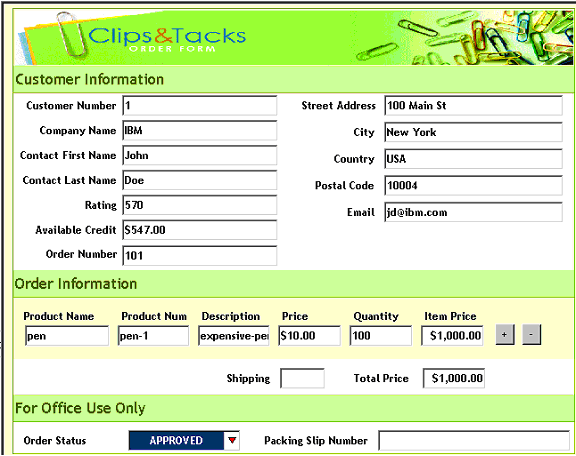
- The Clips and Tacks Order Form appears
in the Task Information widget. Complete the top part of the
form using the following values:Note: Scroll down the page to show the form and the entry fields to complete.
Table 1. Clips and Tacks Customer Information window Field Value Customer Number 1 Company Name IBM® Contact First Name John Contact Last Name Doe Rating 100 Available Credit $500.00 Order Number 101 Street Address 100 Main St. Country USA Postal Code 10004 E-mail jd@ibm.com - Complete the rest of the form. Make the Total Price greater
than $750.00 to force the process to flow to the Review Order task.
As a result, the Order Size assertion is set to LARGE, which causes
the Better Shipping endpoint to be selected (make sure the Country field
is set to USA and the Postal Code field
is set to 10004.Note: Do not type underneath For Office Use Only.
- Click Submit.
- The Order Handling process is waiting for
the Review Order task to be Approved, as shown
in the Available Tasks widget.Note: If the Review Order task is not displayed, select the down arrow icon and click Refresh.
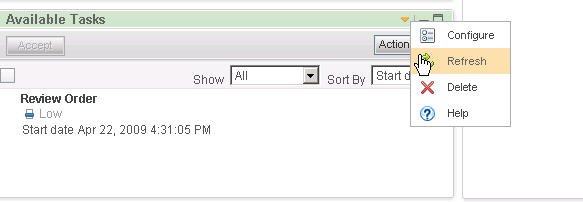
- Select Review Order and click the icon
on the right side of the Available Tasks window.
The Task Information widget now displays the Review
Order form.
- For Order Status, select APPROVED.
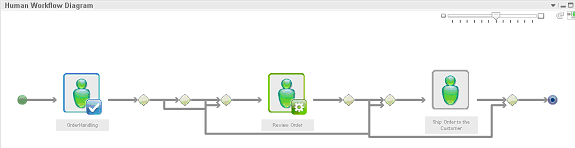
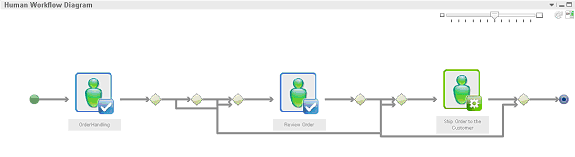
- Scroll down to see the Human Workflow Diagram widget
displaying the state of all the human tasks in the process instance.
- Scroll back up to the Task Information widget
and click Submit. The process progresses to
the Ship Order to Customer tasks. The Available
Tasks widget now lists the Ship Order to Customer task.Note: If the Ship Order to Customer task is not in the Available Tasks widget, select Refresh.
- Claim the Ship Order to Customer task by selecting Ship Order to Customer and clicking the icon on the right side of the Available Tasks window.
- The process now completes for this instance and you can review
the completion information by:
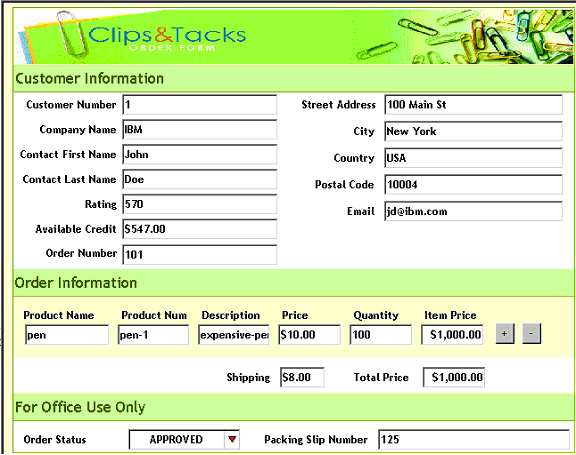
- The Task Information widget now displays
the updated Ship Order to Customer form.
- The Human Workflow Diagram widget displays
the state of all the human tasks in the process.
Hover the mouse over each task to see the state and the owner.
- The Shipping Charge field shows the amount that the endpoint charges by using the Calculate Shipping Charges Dynamic Assembler. In this case, the Better Shipping endpoint was selected, given the values of the input data, and the fact that this particular carrier charges an $8 flat fee.
You can also see the selected endpoint in WebSphere Integration Developer in the console view.

- The Task Information widget now displays
the updated Ship Order to Customer form.