In this lesson, you will publish your local changes to the WebSphere® Business Services Fabric business services repository.
The business services repository is used by the Dynamic Assembler when an actual process runs in production or when you run your runtime test. To publish your local changes, Governance is used to submit your local change list to update the business services repository. A change list is a collection of related metadata changes that an individual developer makes in the localized project.
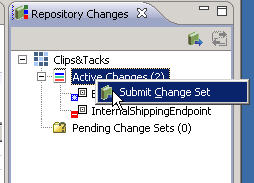
- Locate the Repository Changes view on the left of your WebSphere Integration Developer workspace. Expand the Active Changes folder to see the list of 2 outstanding active changes.
- Right-click Active Changes and click Submit Change Set.
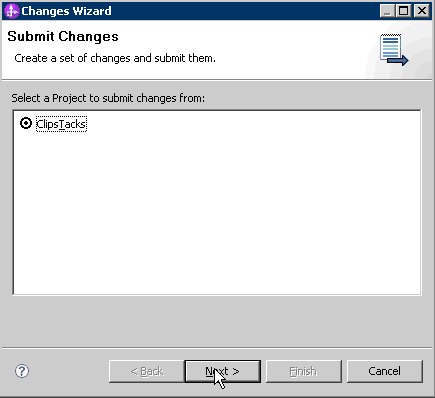
- On the first page of the Change Wizard keep the default Project and click Next.
- To move all of your development changes to the Selected Changes window, Click Add All > and then click Finish.
- In the Confirm Submit to Business Services Repository window, click Yes.
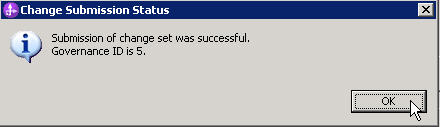
- In the Change Submission Status window click OK. Notice that the Active Changes has gone to zero.
- Log in to Business Space with the admin id and open up the Governance page of the Clips And Tacks Fabric space.
- To get to the Business Space, in the Business Integration perspective of WebSphere Integration Developer, in the Servers view, right-click the WebSphere Business Monitor Server V6.2 server and select . (If a Security window displays, select the option to continue to the Web site or add this connection as an exception, depending on the browser being used).
- When prompted, enter admin for the user ID and for the password (or the administrator ID and password if you have changed it).
- Navigate to the Governance page of the Clips and Tacks Fabric space.
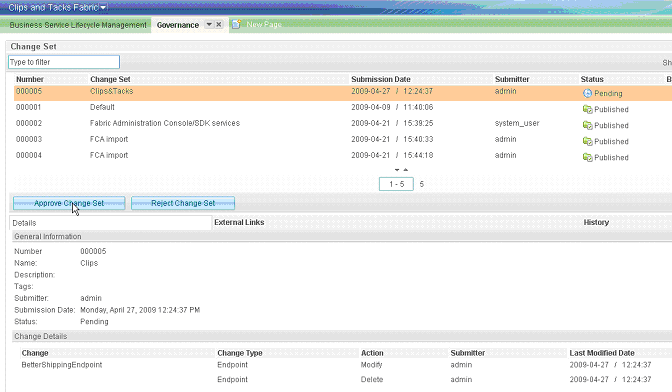
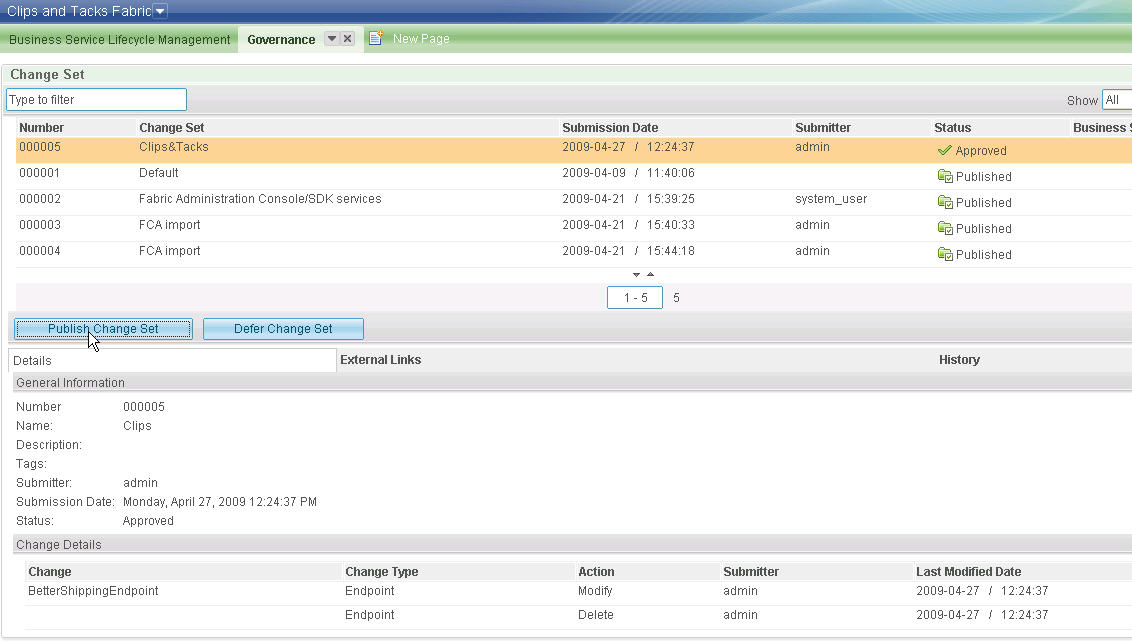
- On the Change Set widget, select the row corresponding to the Clips&Tacks change set with the status column set to Pending. This change set is the list of changes that you submitted from WebSphere Integration Developer.
- Click Approve Change Set.
- For the comment, type Shipping Changes for Change 1 and click OK.
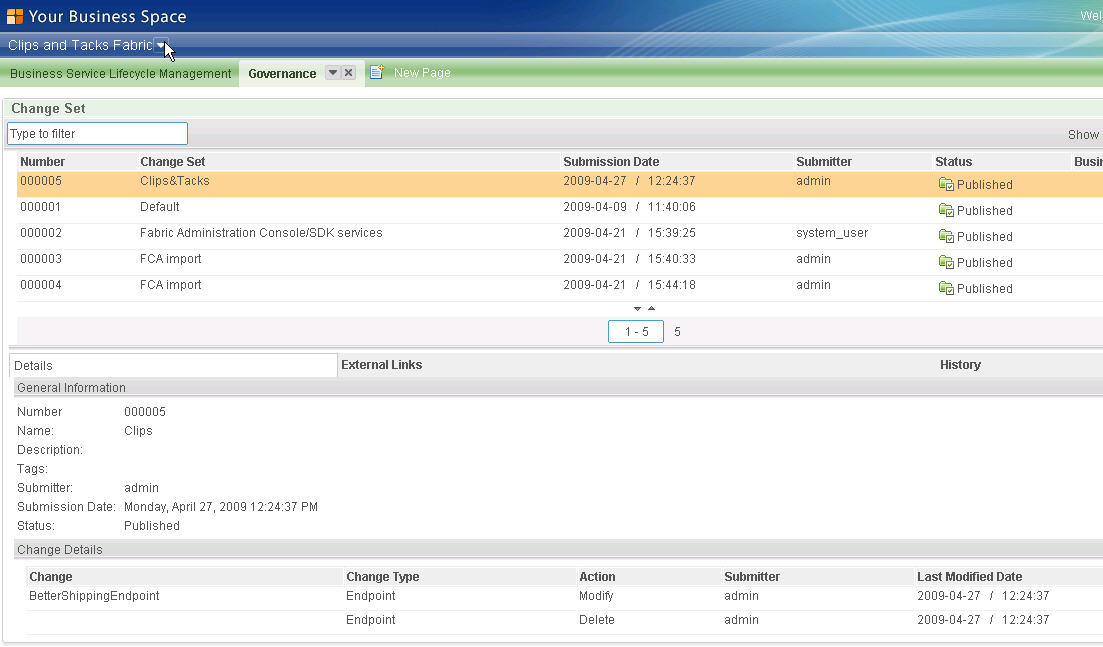
- Click Publish Change Set.
- Click OK. The Clips&Tacks row shows Published in the Status column.
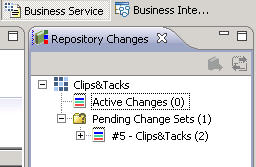
- Switch back to the WebSphere Integration Developer workspace and the Business Service perspective, notice that there is now an entry in the Pending Change Sets folder under the Repository Changes tab.
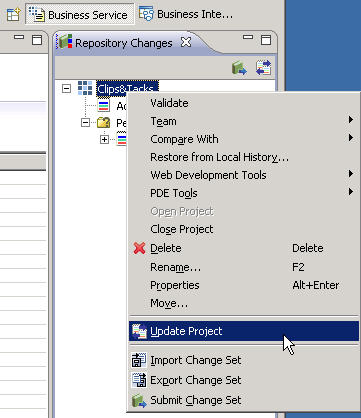
- At the root of the tree, right-click Clips&Tacks and select Update Project.
- In the Update Project window, click Finish.
- In the Project Update Results window, click OK.
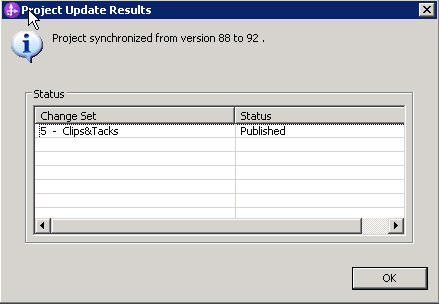
Performing these steps moved your changes to the run time business services repository. The WebSphere Business Services Fabric server now has access to this metadata during run time. Additionally, you have re-synchronized your local Composition Studio environment.
To complete Change 1, you need to run a runtime test. For the actual runtime test, follow steps as outlined in the section Testing the initial shipping policies. Use the same input values provided there for the form except for the Total Price, which you should set to 10, to show that the Better Shipping endpoint now handles small orders as well.