In this lesson, you will implement a Dynamic Assembler extension for the CalculateShippingCharges component.
An assertion is a concept in the WebSphere Business Services Fabric meta-model that is used to specify a policy requirement and evaluate endpoints at run time. It is also used to describe the capabilities of an endpoint. For example, Endpoint A supports service invocations for EXISTING customers and accountSize = SMALL.
A policy defines the business requirements that have to be met when a consumer requests a service. A policy is a set of assertions that represents requirements, constraints, or capabilities for a business service, for example IF [customerType = PLATINUM] THEN [responseTime < 20ms]
The CalculateShippingCharges component is a DA. It needs extensions to extract context information from the message body and insert it into its invocation context. DA extensions are implemented as Java™ components
To implement a ContextExtractor extension for the CalculateShippingCharge DA, complete the following steps:
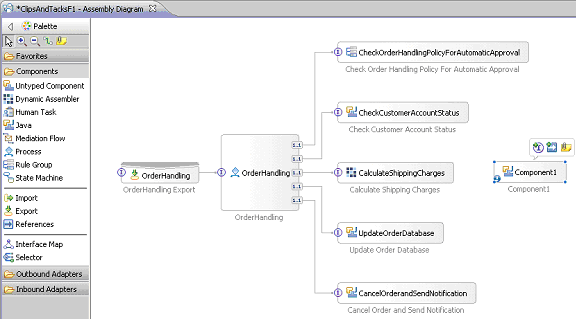
- Select the Java component
type from the component group on the palette and drag it to the assembly
diagram.
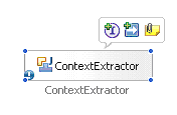
- Select the ContextExtractor component
and click the Add Interface icon to specify
one or more interfaces. A window opens.
- To add the interface to the component, perform these steps:
- Select the Show WSDL and Java radio button.
- In the Filter by interface or qualifier field, enter ContextExtractor.
- In the Matching interfaces text box, select ContextExtractor.
- Click OK.
The component is updated with the selected interface.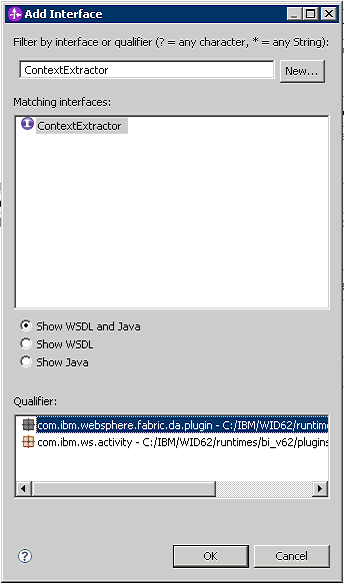
- Click the reference wire for the CalculateShippingCharges component
and drag it to the ContextExtractor interface on the ContextExtractor
component. When the Add Wire window opens, click OK.
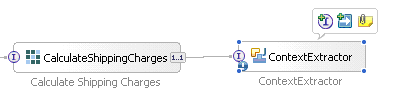
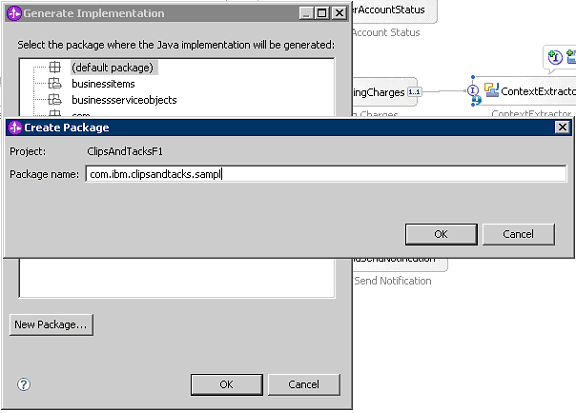
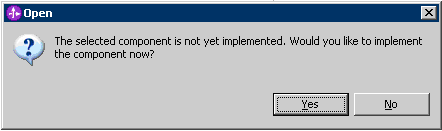
- Double-click the ContextExtractor component
to specify its implementation. Click Yes to
implement the component.
- Click OK twice.