In this lesson, you will create a WebSphere® Business Services Fabric project to be the container of all the WebSphere Service Fabric artifacts created (for example: endpoints, assertions, etc.).
To create a project, two main steps need to occur:
- WebSphere Business Services Fabric is set up with the vocabulary and project interchange file.
- WebSphere Integration Developer is set up with a Business Service project that has a name that is the same as the name of the WebSphere Business Services Fabric project name.
WebSphere Business Services Fabric runs on the server and has a browser based interface that will be used in this sample to import the vocabulary and the project interchange file. The vocabulary and the project interchange file contain the meta-data needed for the dynamic assembler (DA) implementation. With version 6.2, similar artifacts would be developed using the Business Space Authoring space. The Business Space Authoring space and the development of the artifacts are not covered in this sample.
Complete the following steps:- Click the Servers tab.
- If the server is not already running, right-click the WebSphere Business Monitor Server V6.2 server and select Start.
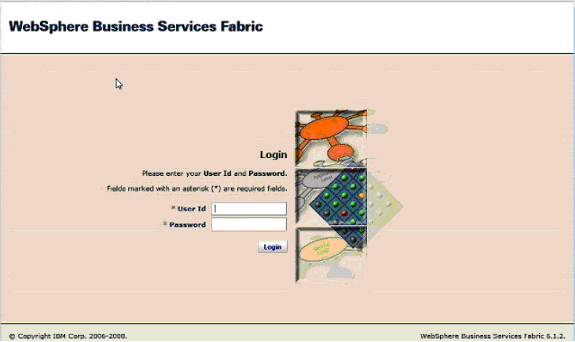
- When the server has started, which takes several minutes, open
a Web browser to http://localhost:<Server_Port>/fabric/login.jsp and
log in to WebSphere Business
Services Fabric as the administrator. For <Server_Port> use the
value you identified in Identifying WebSphere Monitor Server on WebSphere Process Server ports.Note: For purposes of this tutorial, log in using admin for the user ID and for the password.
- In the My Services section, expand the Governance Manager menu
and select Import/Export.
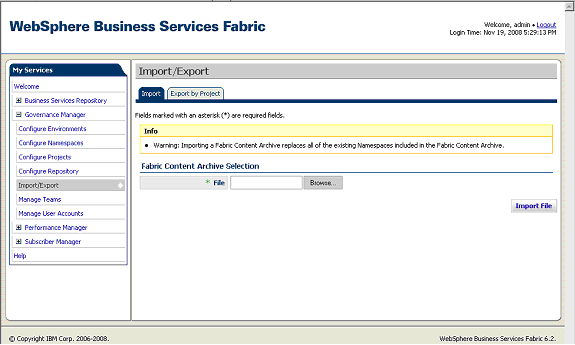
- Click Browse and navigate to the directory where the ClipsAndTacks-Core_ontology.fca file is located. Click Import File. This file contains the Clips and Tacks custom ontology or vocabulary (For example, OrderSizeAssertion and its values SMALL and LARGE are defined in this file).
- If the previous step was successful, click Browse again and navigate to the directory where the ClipsTacks_initial_scenario-owl.zip file is located. This project interchange file contains the definition of all of the WebSphere Business Services Fabric components that are needed to recreate the Clips and Tacks scenario. Click Import File and watch for error messages.
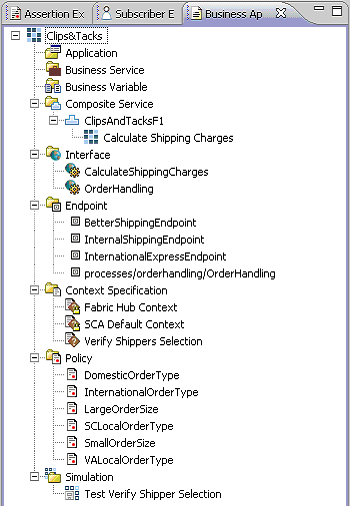
- Under Governance Manager, click Configure
Projects to see the following entries:
- Logout of WebSphere Business
Services Fabric and return to WebSphere Integration
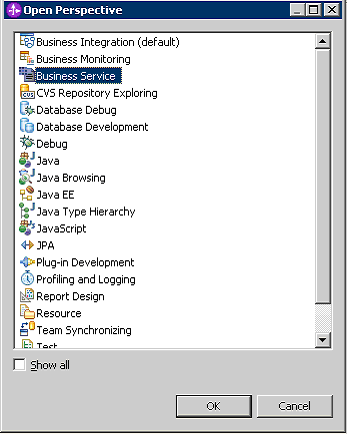
Developer. Open the Business Services perspective and click OK.
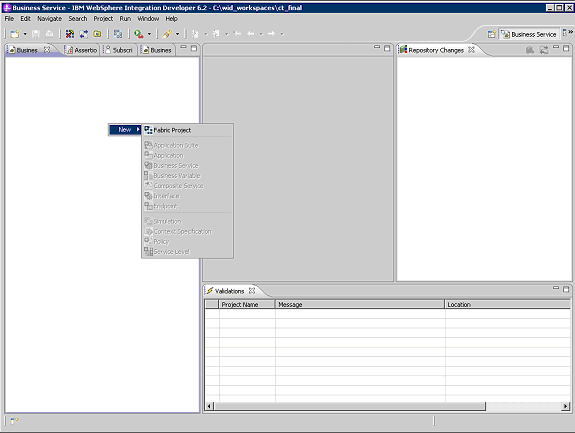
- From the Business tab, right-click New and
select Fabric Project.
- In Project name, type Clips&Tacks and
click Next and then click Configure.
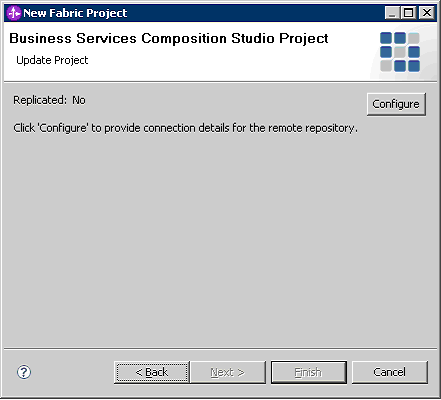
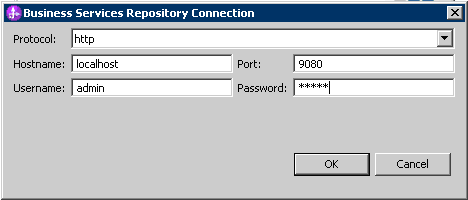
- Enter the Business Services Repository information (the port might
be different in your system. Use the same port that you used to log
in to the WebSphere Business
Service Fabric page). Use admin for the user
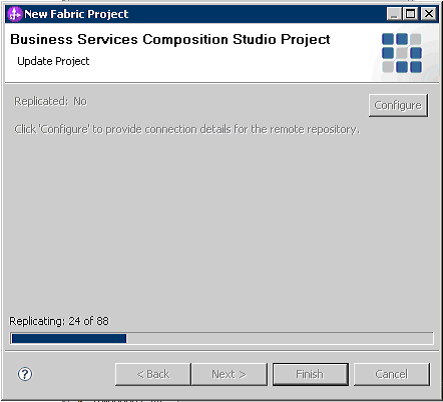
ID and for the password. Click OK. The replication
process starts momentarily. The entire metadata repository is replicated
to the Eclipse workspace and is referred to by Composition Studio
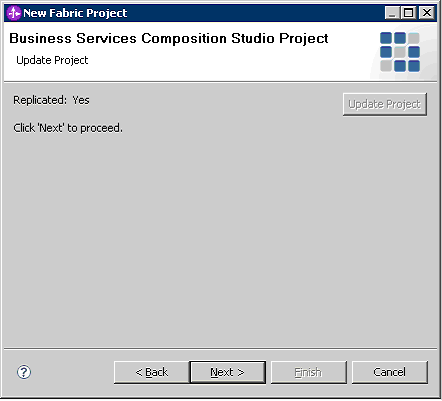
as a local working copy. Wait until the replication finishes (do not click Configure again).
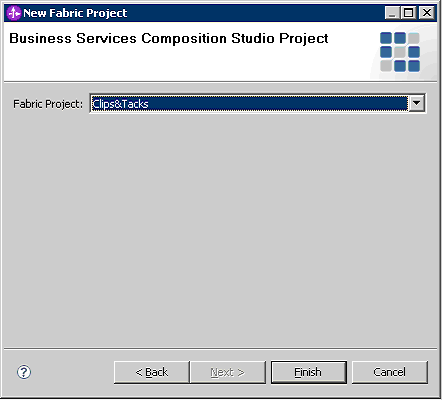
- When the replication is complete, click Next.
- In the Fabric Project field, select Clips&Tacks and
click Finish.The Clips and Tacks Fabric project is created.