In this lesson, you will import the exported file from IBM® WebSphere® Business Modeler into WebSphere Integration Developer.
You can use the ClipsAndTacksF1.zip file that you
created with the previous tasks, or you can use the ClipsAndTacksF1.zip provided
with this tutorial. See the Download and import samples section
for instructions on downloading the provided project interchange file.
Complete the following steps:
- Start WebSphere Integration
Developer V6.2. The Workspace Launcher opens.
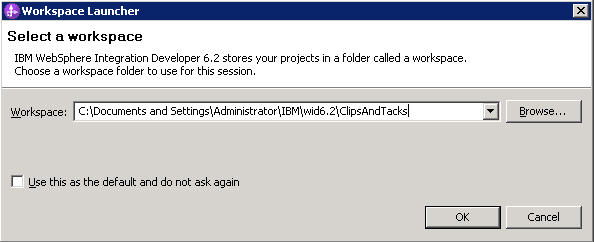
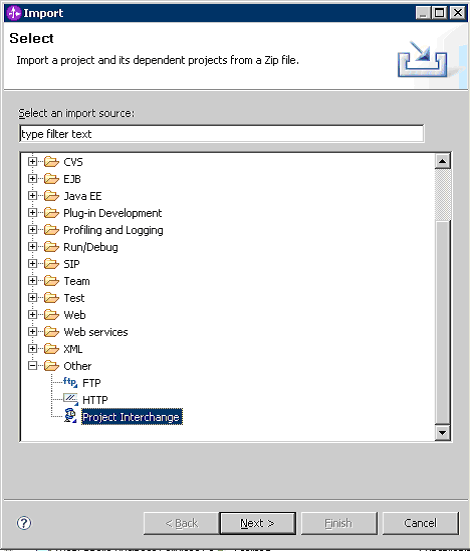
- Select and click Next.
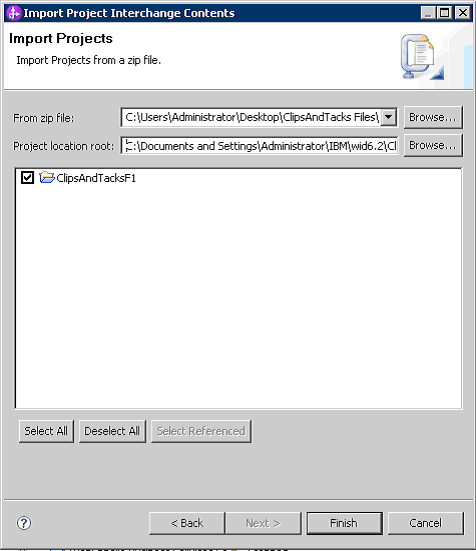
- From the Import Project Interchange Contents wizard, in
the From zip file field, click Browse and
select the ClipsAndTacksF1.zip file of your choice
(either the supplied file or the one you built in the previous section).